We’ve all been there. You come back from your latest photo trip, eagerly upload your images to your computer, and then realize that they’re just too dark! Photos that are too dark, or underexposed, but are otherwise good used to be a bit of a problem to fix. Sure, you can just pull the exposure slider up, but the results aren’t often that great, and your lighter areas would lose detail.
It would be great if there was an easy way to lighten your dark photos, wouldn’t it?
Well, there is!
With Luminar, brightening dark images becomes simple, and gives you great results in just a few mouse clicks.
It’s simple to load your image into Luminar, and here’s one I’ve chosen:
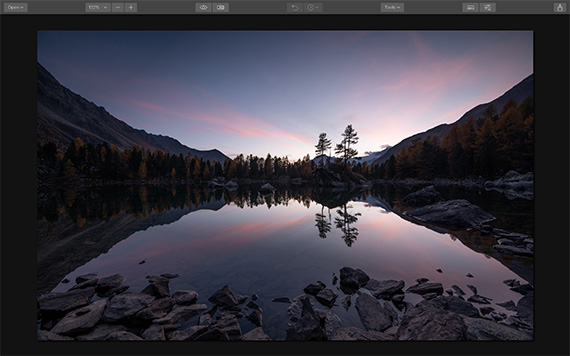
Pretty, but just a little on the dark side. You can’t see the details in the trees and rocks at the edge of the lake, but we don’t want to lose the colors in the sky, which is what would happen if we just upped the exposure.
In the screenshot below, you can see the adjustments I made. First, I increased the exposure a little, up to 0.19, then dropped the highlights. I increased the shadow slider up to 47 and increased vibe and saturation to give the colors more pop:

Filters
Here’s the before/after split. The image before adjustment is on the left, and the adjusted one is on the right:
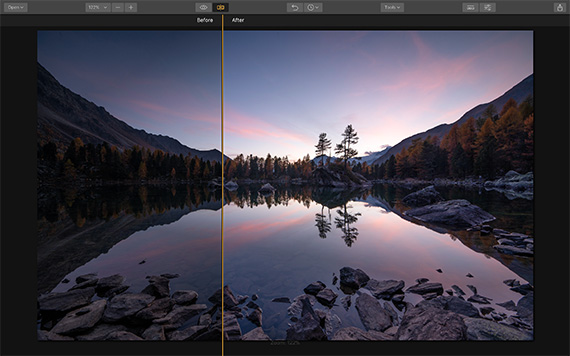
The detail is drawn out much more, without removing the colors, or ruining the early morning light.
These adjustments took me less than 15 seconds to do, so it proves that you don’t have to spend hours using layers and masking to make some adjustments to your images.
The second photo we’re starting with is this one:
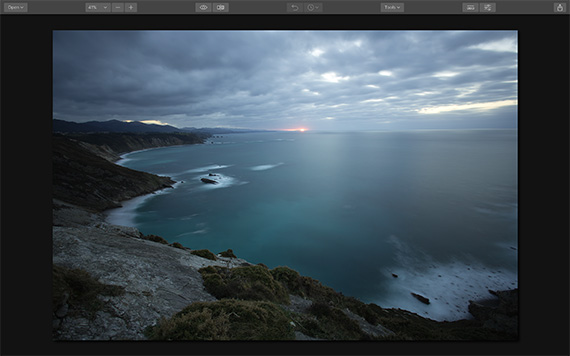
Again, it’s a bit too dark, yet we don’t want to lose the clouds.
This time, instead of adjusting manually, I used Luminar’s Accent AI filter, which evaluates your image to find out exactly where it needs adjusting. All you do is adjust the slider to show as much filter strength as you wish. I had it at 62 and added a couple of manual adjustments by lightening the shadows and boosting the saturation a little.
Here’s the before and after split:
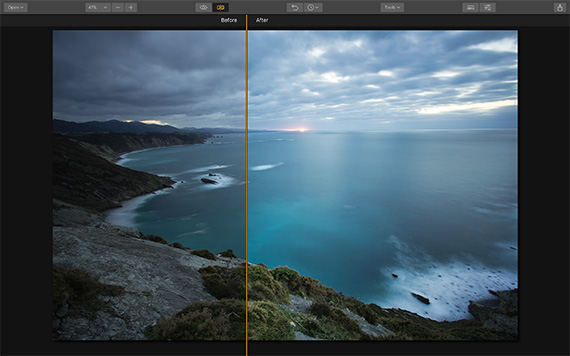
Much more color and detail in the rocks and plants, a nicer color to the sea, and we still have the dramatic skies. Accent AI is found on the filter menu on the right-hand side of Luminar, and it takes seconds to make adjustments this way.
Hopefully, this little guide will inspire you to start experimenting on your own images that are too dark. These two ways to enhance your images take only seconds to do and are great if you’re a beginner who’s a bit unsure about how to edit or if you’re a busy pro with no time to spare for complicated edits.
How to Get Luminar at a Discount Today:
Just released, Luminar 4.2 is a free update to current Luminar 4 users. On a Mac, click in the Top Menu Bar and choose Luminar 4 > Check for updates. If you purchased via the Mac App Store, simply open the App Store and go to the Updates tab. On Windows, in the Top Menu Bar choose Help > Check for updates.
If you are running Luminar as a plugin with Photoshop, Lightroom Classic or Photoshop Elements, it’s also recommended you rerun the plugin installer.
New users can purchase or upgrade to Luminar 4.2 and save $ on the already discounted sale price using the coupon code, “PICTURECORRECT”.
Deal found here: Luminar 4.2 Update Sale
Like This Article?
Don't Miss The Next One!
Join over 100,000 photographers of all experience levels who receive our free photography tips and articles to stay current:


Leave a Reply