The rise of Photoshop has made us question almost every photograph that we see on the Internet. And I still don’t think we realize just how many photos have been altered. The following video stands as proof that we should second guess the authenticity of every single picture we see. Jesus Ramirez takes a summer photo, applies some Photoshop magic, and ends up with a snowy photo that you would swear is 100 percent real:
The first thing that Ramirez does for the photo he is working with is reduce the saturation throughout the entire image.
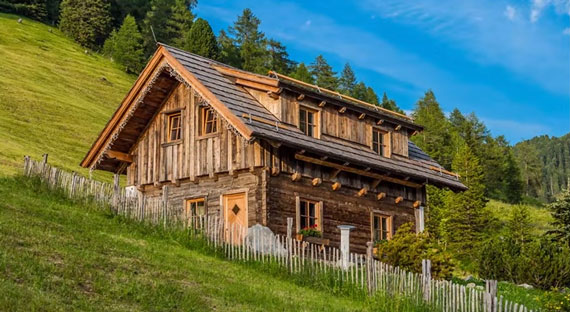
The original image. From the looks of things, it’s going to take a lot of work to transform this into a winter landscape.
The colors are much more suited for a summertime photo, and the winter picture he’s looking for doesn’t need all those vivid colors.
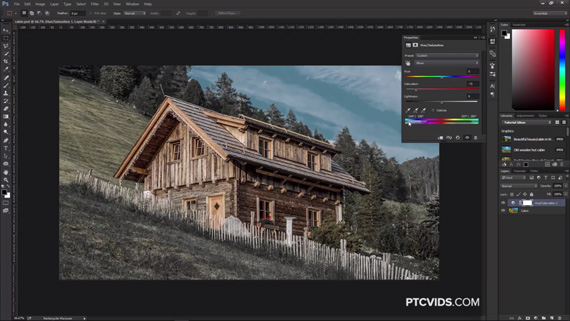
The first step is to decrease saturation.
Next, he creates snow for the trees and the ground. One tip for working with delicate selections of large areas is to use Control + Command + click to select the white pixels in a layout.
Then he adds snow to the ground that’s in the foreground of the picture, and adds some texture to the snow as well. Since it’s the closest part to our picture, that part has to look like real snow. Since the hill in the background is not that close, texture is not required, so more snow for the background hill is created by simply brushing it white.
The house also needs some snow. Notice how Ramirez selects the roof shape and makes sure that the edges aren’t perfectly straight by painting over them to make them look realistic. A layer of texture completes the effect. What’s important to note here is the fact that you have to think about where the snow will pile up due to gravity and add snow there as well.
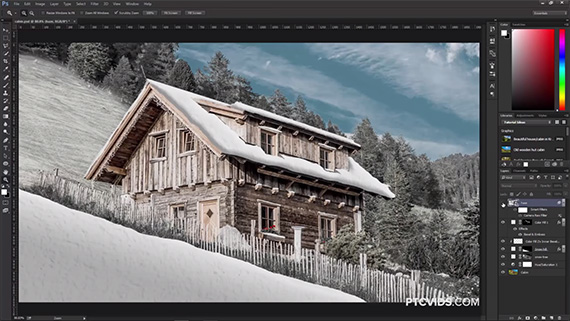
Add snow to the roof.
Since pictures taken in the snow have a level of haze to them we need to add some fog to the image. From Camera Raw, go to the fx tab and drag the Dehaze option all the way to the left. Use a brush to reduce the haze in the areas that are closest to the camera.
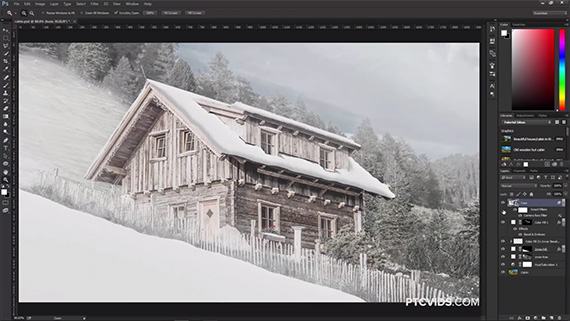
Add fog.
And only one thing left in Ramirez’s tutorial: adding the actual snow. This will involve creating a new brush type by creating a new document (400×400 is enough for the size) and using existing brushes to create a couple of snow flakes. Save this and add some jitter to the image to complete the effect. Then, using this newly-created brush add snow flakes that are both farther away and closer to us, and add motion blur to the ones that are farthest.
If needed, add some contrast and a blue tint to make the image look extra chilly.
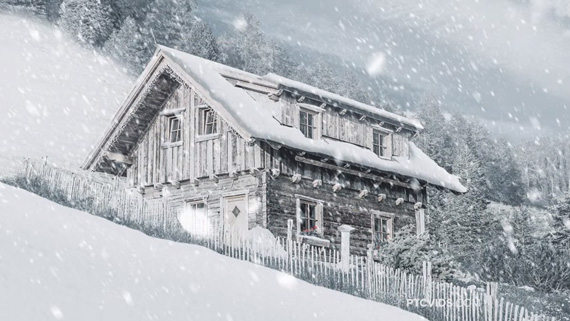
Looks can be deceiving! A short time later our summer photo looks like it was taken in the middle of winter.
And that’s it! By using these steps, explained in much more detail in Ramirez’s video, you can add some Photoshop magic to your summer landscapes and make them look like you took them in a snowstorm. What do you think, is this technique suited for you or would you rather wait for winter?
Like This Article?
Don't Miss The Next One!
Join over 100,000 photographers of all experience levels who receive our free photography tips and articles to stay current:


Leave a Reply