Despite all the wonderful real-world advantages of digital photography, once in a while the typical grainy film look just feels so enchanting. So much so that we actually seek out ways to post-process and convert some of our perfectly good color images to give them a nostalgic black and white look. In this video, Andrei Oprinca shares his workflow for transforming digital portraits into old school black and white masterpieces:
- Start by duplicating the background layer twice over. Press command / control + J twice as a shortcut.
- Highlights and shadows will be worked on separately, so the next step is to create two Levels adjustment layers. But before that, label the first copy ‘lights’ and the second one ‘darks’. Now drag the Levels adjustment layer one above darks and the other above lights.
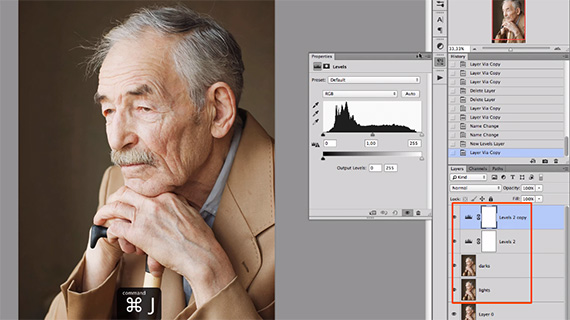
The original background layer is copied twice, renamed, and then two corresponding adjustment layers are created.
- Clip the Levels adjustment layers using ‘Create Clipping Mask’.
- Turn off the darks and take the lights layer first.
- Double click the lights layer first to open properties. The idea is to reduce the contrast significantly. Oprinca works only with the Outputs Levels on this adjustment layer.
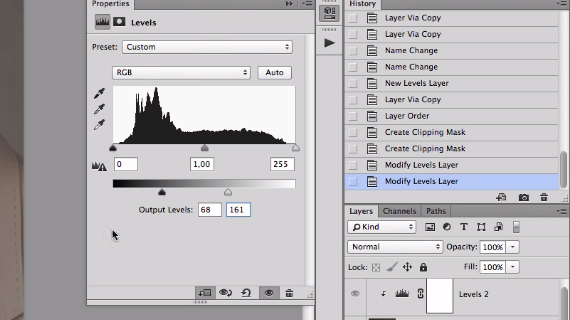
The Lights level is adjusted first
- Next is the darks layer. Right-click to change the blend mode to Soft Light. Next open the levels. On this adjustment layer Oprinca works on the levels directly. The target is to increase the contrast of this layer.
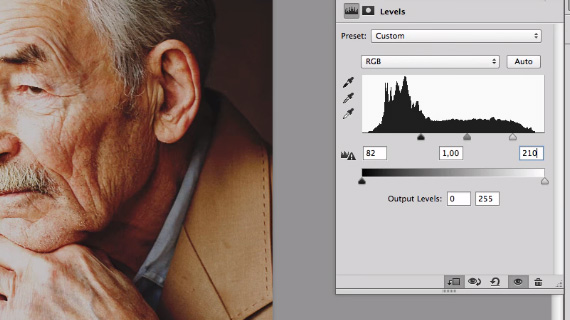
The Dark layer is adjusted to increase contrast
- Create a black and white adjustment layer. Optionally, you can create this before the Levels adjustment is tweaked. This eliminates the colors from the image and gives you the critical advantage of judging black and white contrast in the image better. Next, play around with the color tones in the image.
- Create an exposure adjustment layer. Now’s the time to tweak the faded effect. Oprinca adjusts the Offset and Gamma Correction values.
- Oprinca adds some noise to the image. This is of course to taste. To do this create a new layer, then go to Edit > Fill and choose 50% Gray. Convert this layer to a Smart Object. Change the blend mode to Soft Light. Go to Filter > Noise > Add Noise. This adds noise to the image. Oprinca prefers Uniform over Gaussian. Don’t forget to check Monochromatic. Oprinca also adds a Despeckle and a Gaussian filter on top of it.
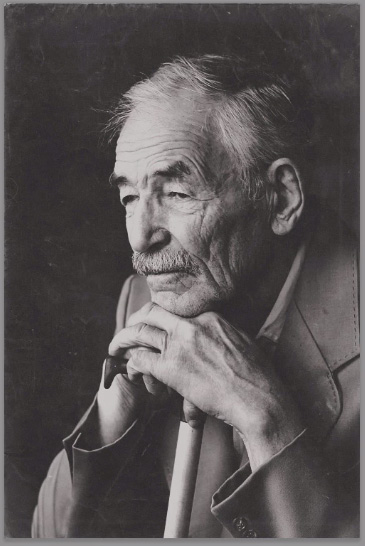
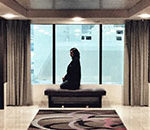
Final image after texture is added
Let us know if you try this technique!
Like This Article?
Don't Miss The Next One!
Join over 100,000 photographers of all experience levels who receive our free photography tips and articles to stay current:


Thanks for the tutorial and sharing a technique I had never tried. I used Photoshop and GIMP 2.8.16 and both produced very similar results (even though I had to work around not having adjustment layers in GIMP).