Family reunions, little league teams, birthday parties, and class field trips are just a few scenarios when many of us have tried and failed to get the perfect group shot that reflects the mood of the occasion. Where did we go wrong, and how can we get the photographs we want with our own digital camera?
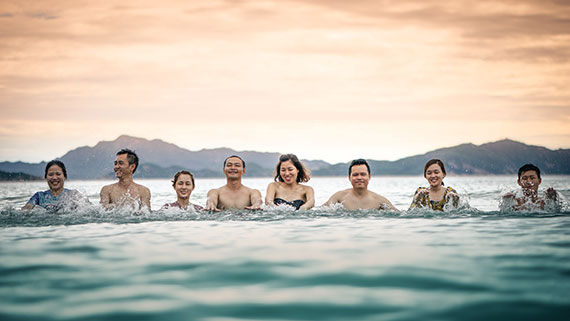
Photo by Duy Pham
One option, although a bit pricey for “everyday” purposes, is to hire a professional photographer. I am assuming however that most people reading on this topic are hoping to learn the tips they need for getting better group shots with their own camera. Thus, here are some hints that can help:
Get set up
People get impatient and tired, children begin to wander and fidget, and everyone’s smile begins to wither if they have to wait around while you select the perfect location, get your camera set up, rearrange your subjects, and so forth.
Be sure to find a spot that is large enough to accommodate the number of people you will be photographing.
Be sure there is adequate lighting. Open blinds, turn on lamps, and use additional light sources indoors. Outdoors, be sure that the sun is not directly in front of your subjects to eliminate squinting. Also be sure that the sun is not directly behind subjects, shining into the camera. The sun should be at a 45 to 90 degree angle to your subjects.
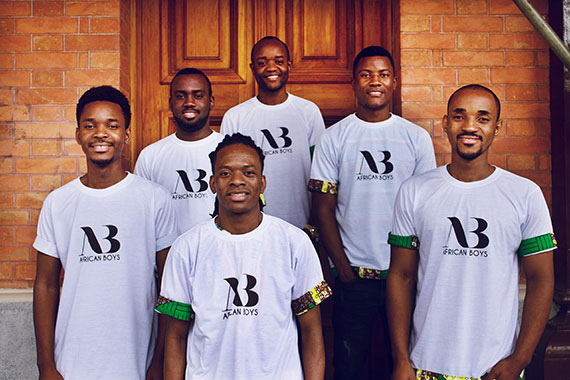
Photo by Edson Diogo
Know how you want to pose the group. More about this in a moment, but for now suffice it to say; figure out how you want to do it before the people arrive to be photographed.
Get your camera ready
The camera should be on, set up on a tripod, and any settings selected.
Take charge
Tell the subjects how you want them to pose. Arrange them and coach them through the process. Tell them where to face. Should they be looking at the guest of honor, the coach, the bride and groom, or the camera? Should they smile or be more relaxed? It depends on the type of look you want the photograph to have.
Get everyone arranged
This will vary by the group size and the type of event. To assure the faces of both tall and short people alike can be seen, you will need to arrange carefully. Generally you want taller people in back and in the center. For large groups you may need to vary heights more: have some seated in front, some kneeling, and then those further back from the camera should be standing.
Pulling the group together will allow you to step closer and assure that faces can be seen. Having the group stand shoulder to shoulder, all facing the camera can look very stiff and also makes it difficult to get close enough to see any detail. It is better to curve the rows and use various heights to bring the group in to a narrower range and allow faces to be seen in the photograph as you get closer to the group.
Arranging groups on stairs and shooting from above the group looking down are two ways of fitting the group into a tighter pattern. Another technique is to angle everyone 45 degrees facing slightly in toward the center of the group to get very large groups organized in a smaller pattern.
Know how and when to shoot
With groups you will definitely want to take multiple shots to be sure you get at least one or two pictures that are “good” of each individual. Take these rapidly; pros use burst mode. One way to improve your chances of eliminating shots with closed eyes is to instruct subjects to close their eyes and then on the count of 3 to open their eyes and smile.
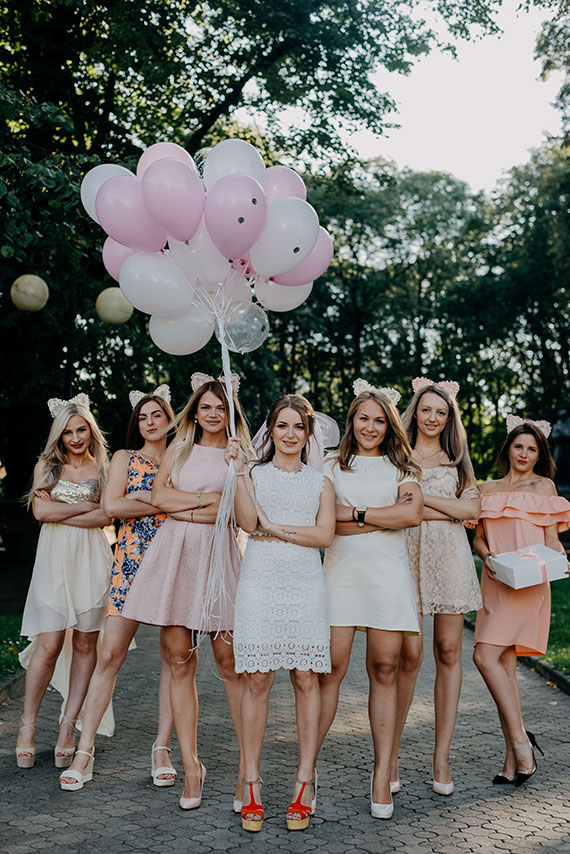
Photo by Zoriana Stakhniv
Another important consideration is to take the group shot before the very end of any event (excluding, of course, group shots such as a game victory, etc.) This will assure that everyone is present and not exhausted.
One camera, one photographer technique
One final consideration involves an issue I frequently encounter when family reunions occur or multiple parents are involved with an event. A group shot is orchestrated but it takes a half an hour for everyone to get the shot they want with their camera. There is time involved in both setting up each camera in the preferred location and, in some instances, time for the person taking the photograph to run to and from the group as the photographer/subject role changes.
The best method is to allow one person to take all photographs with a single camera and then, thank goodness for digital cameras, e-mail all photographs to everyone present.
About the Author
The author invites readers to discover more information about getting better photographs with your digital camera by browsing the information available at homemedias.info, her online home electronics store.
Like This Article?
Don't Miss The Next One!
Join over 100,000 photographers of all experience levels who receive our free photography tips and articles to stay current:


Leave a Reply