Ever wonder why your flash photography looks, well, a bit too “flashy”? Perhaps you’re great at balancing the flash with ambient light but have never really looked beyond that. In this video, wedding photographer Robert Hall explains the four ways we see light and how we can control how our images come out:
Most of us use a flash with ambient light to add fill light and/or to get the exposure settings we want. But there’s a lot more that can be done with a flash, and understanding the principles behind how we see light can really help us not only balance out our photos more easily but also inject more creativity into our scenes.
Luckily, these principles aren’t particularly complicated. In fact, according to Hall, they exactly mimic what we already know from just experiencing the world.
“If you just apply what you already know from seeing your environment to your flash photography, then you’ll realize that it’s a lot easier to execute your vision.”
Here are the four ways we see light and how they impact flash photography.
1. Brightness
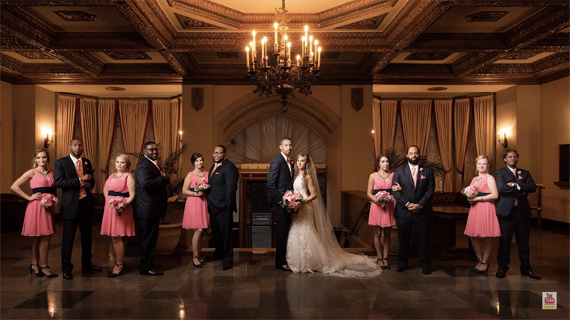
Brightness is the most obvious of the four ways we see light. It’s the element that first catches our attention in a scene. It’s also the area of greatest contrast. Light up a subject much brighter than the background, and the flash will be obvious.

Light the subject so the flash merely fills in the shadows, and the flash will blend in much better.
One way isn’t better than the other, but it’s important to know what kind of look you’re going for and how to get it.
2. Quality
How hard or soft your light is will also have a great impact on your image. A hard light transitions from light to shadow very quickly, creating strongly defined shadows and edges:
A soft light transitions slowly with a lot of tones in between:
The difference lies in both the size of the light and how far away it is from the subject. Most people go for softer light sources when using a flash, but hard light can also be used to great effect. It all depends on whether you want to match the ambient light or create contrast with it.
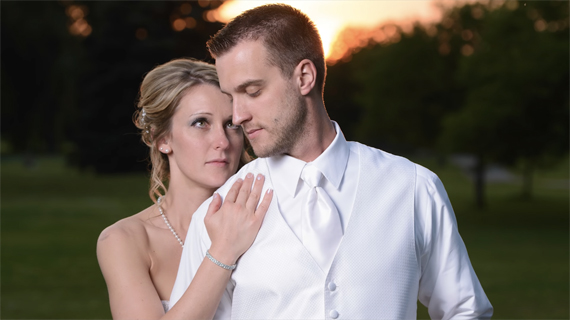
3. Direction
Direction is something most of us get intuitively. Shadows will look out of place if they come from a different direction than those from the natural light. So for a balanced image, we would normally go for matching the direction of the natural light.
For a more stylized look, however, coming from a different or opposite direction can be quite effective.
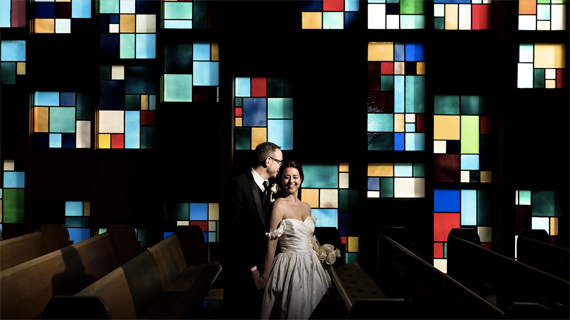
4. Color
Color is probably the most challenging (and neglected) aspect of using flashes. Daylight flashes are designed to shoot between 5000 and 5500 Kelvin, and that’s doesn’t always match the ambient light. The two most glaring circumstances are when your indoor lighting is designed to match tungsten lighting at 3200K and shooting in the shade where the tones are much bluer.
A flash will look very obvious in a tungsten environment without color correction.
Shade has more of a blue color, so flashes really stand out here as well.
The key is having a vision and knowing how to get there. That’s where independently thinking about the direction, intensity, quality, and color of your lighting will help you take better control of the final outcome.
“When choosing your light source to add into an environment, it’s best to determine whether you want to match that environment or you want to provide contrast to the environment.”
One aspect Hall left out, however, is the duration of the flash. It can also have a huge impact on the final outcome. Did he miss any others?
Like This Article?
Don't Miss The Next One!
Join over 100,000 photographers of all experience levels who receive our free photography tips and articles to stay current:


Leave a Reply