Sometimes you have a great landscape or seascape photo, but it just seems to be lacking that extra-special something. What can you do to fix it?
In this article, we’ll be looking at enriching your seascapes and landscapes with bi-color toning and adjustable gradients using the tools in Luminar (which is currently on sale for Cyber Monday if you want to check it out).
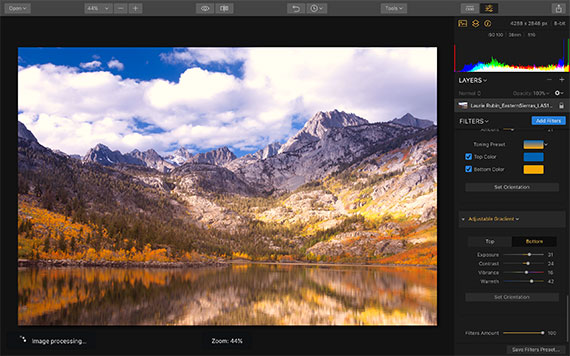
First, open your image in Luminar:
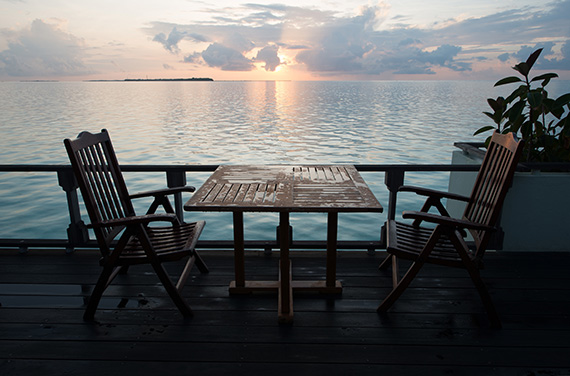
Seascape
This seascape should work well with bi-color toning and the adjustable gradients.
What is Bi-Color Toning?
This filter simulates the effect of a traditional glass bi-color filter. It uses two colors that you can choose yourself – one for the top of the image, and one for the bottom. It applies a soft transition to tone the image, and is a great choice for landscapes and seascapes where you may want the sky to take on one tone, and the land or sea a different one.
You will find the Bi-Color filter by clicking the ‘add filters’ button on the top right-hand side of the screen:
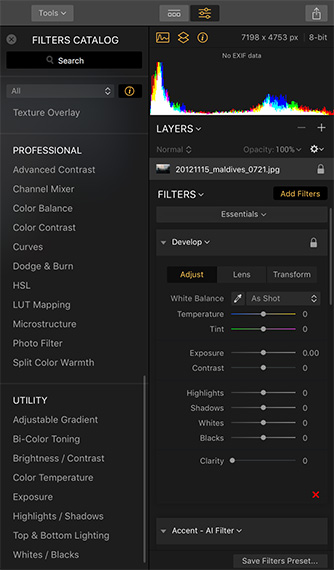
Filters Catalog
This will bring up a menu that drops down, displaying all the filters in distinct categories, such as ‘professional’, ‘creative’, ‘utility’ etc. The Bi-Color filter is under the Utility menu, and when you click it, it will add the Bi-Color filter controls to the workspace on the right. They look like this:

Bi-Color Controls
The filter is fully customizable, and you can adjust the amount you wish to apply, the amount of blending, the areas you want each color to cover with the vertical shift, and you can also use the rotation slider to move the toning around.
You can choose from a range of predetermined toning presets by clicking on the ‘toning preset’ colors, or you can choose a top and bottom color of your choice by clicking on either of the colors. It will bring up a color picker like this:
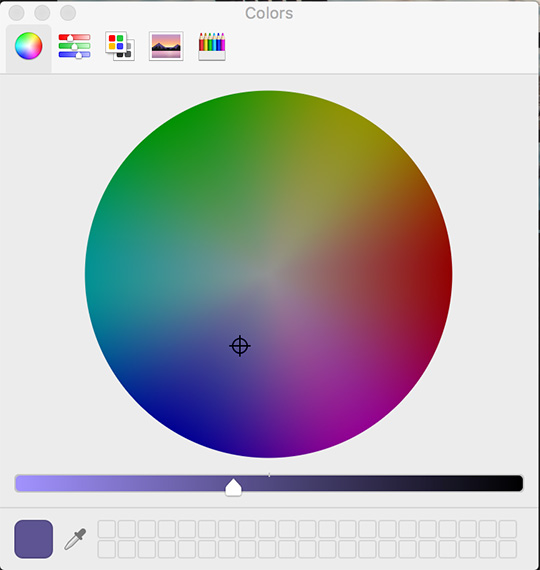
Color Picker
It took me a bit of experimenting and adjusting to find the colors I liked and that I thought worked well together, but that’s the beauty of using the Bi-Color toner. You can get a totally unique and creative result with it. Remember, there’s no right or wrong in photography; it’s about your creative choices, not anyone else’s.
This is the before/after split when I applied the Bi-Color toning:
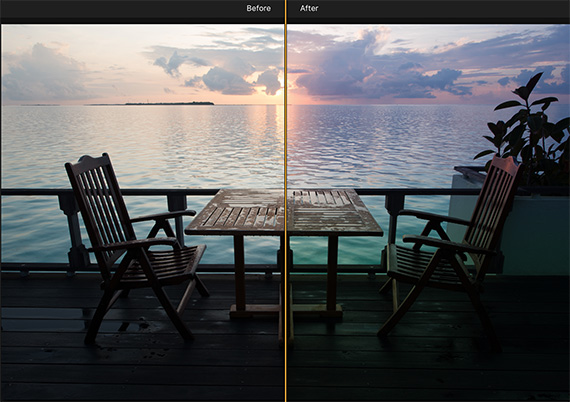
Bi-Color Toning
The colors I chose have made the sky and some of the sea a lovely purple hue, and the bottom colors are warmer.
We haven’t finished yet with the changes, though. We’re now going to apply an adjustable gradient to the image. First, we’ll apply the gradient on its own, then add back the Bi-Color toning we just did. You can use these or other filters together or separately. To turn off the Bi-Color filter for now, just click the eye icon to the right of the panel, and it will remove the changes until you click the eye to turn them back on again.
Adding an Adjustable Gradient
The Adjustable Gradient filter lets you selectively adjust contrast, exposure, vibrance and warmth on two different parts of the image. These adjustments again work well where there is sky and ground, or sea in an image.
I opened the Adjustable Gradient filter in the same way I opened the Bi-Color one—it’s under the Utility menu again.
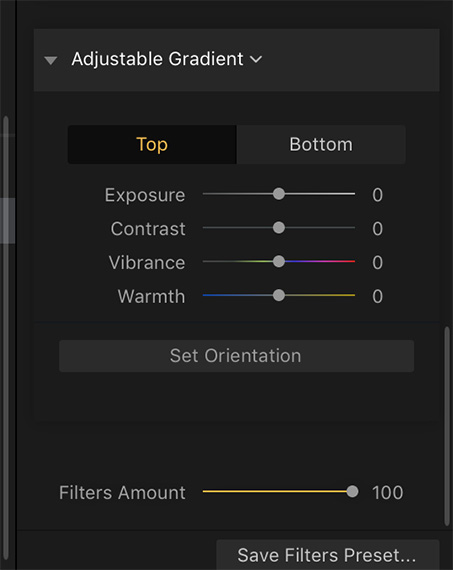
Adjustable Gradient
You will notice that there is a Top and Bottom button selection. These control the adjustments for the top and bottom of your image. We’ll start with the top adjustments. As you can see above, I increased the vibrance and warmth but left the other sliders alone. Here is the image after the top adjustments:
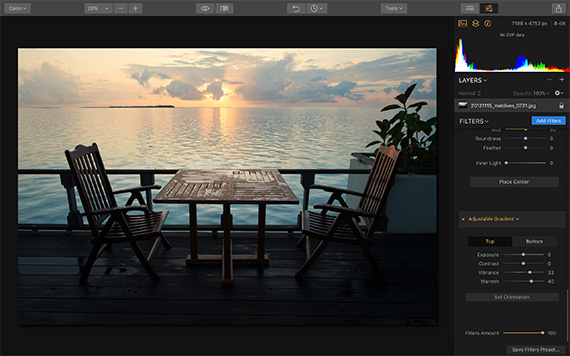
Top Adjustments
I used the sliders to add warmth and vibrance to the sky and sea at the top of the image.
Now for the bottom adjustments:
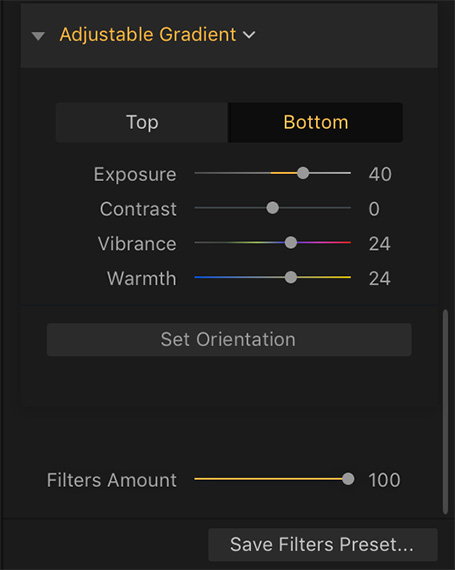
Bottom Adjustment Menu
I increased the exposure to lift the shadows in the bottom of the image, and again adjusted the warmth and vibrance:
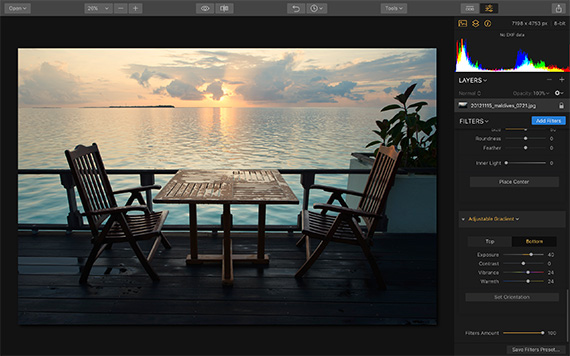
Bottom Adjustments
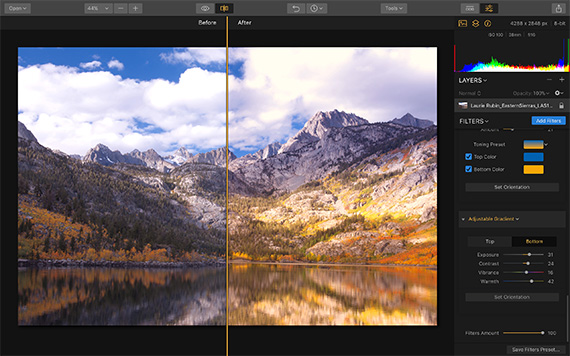
Here’s the before/after split for the final image. The original file is on the left, the Adjustable Gradient enhanced is on the right:
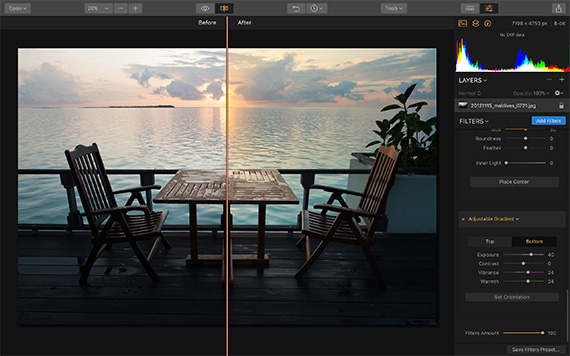
Before/After Split
The photo is now much brighter and more vibrant. Those are the effects you can create using the filters separately. Now let’s add back the Bi-Color toning to the adjustable gradient image to see what we get:

Bi-Color Toning Plus Gradient
I adjusted the amount of both filters by using the Filters Amount slider at the bottom. Here is the before/after split:
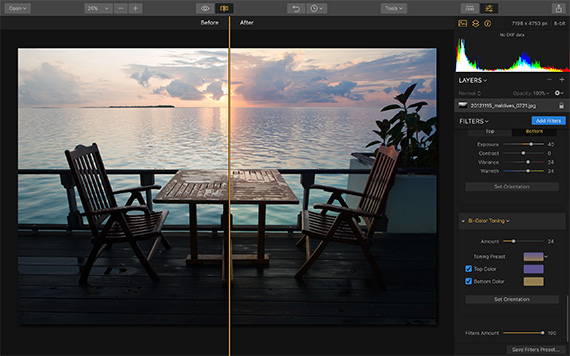
Filters Amount
The two combined make the image more warm and vibrant.
Landscape With Bi-Color Toning
Let’s try enhancing a landscape shot with Bi-Color and the Adjustable Gradient. The colors are a bit muted for a start, so let’s apply some Bi-Color toning and see what happens:
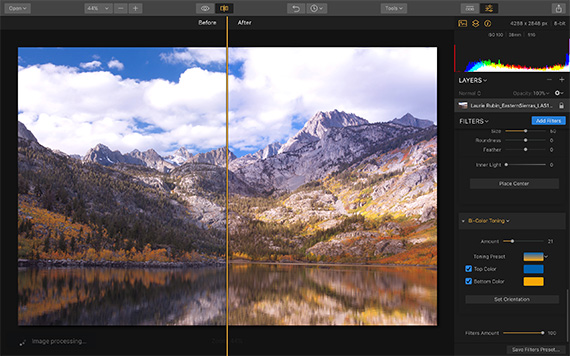
Landscape Bi-Color Toning
This orange/blue combination has really warmed up the colors. You may have noticed that I keep the amount slider fairly low, as anything above this would just be too garish.
Let’s apply the adjustable gradient filter now:
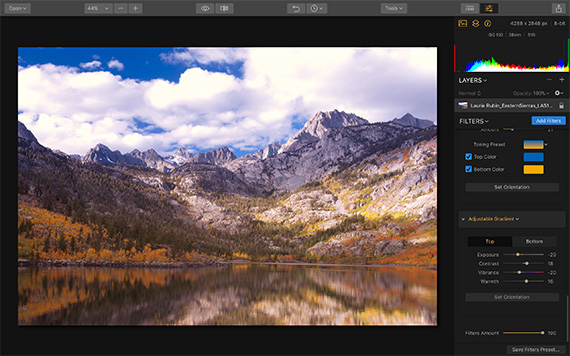
Adjustable Gradient
This is the image with the top adjustments. Note that this time I have left the Bi-Color Toning filter turned on, so we can see the adjustments as we add the gradient.
This is with the bottom adjustments:
Bottom Adjustments
I raised the exposure on the bottom, and warmed it up too. Here is the before/after split with the Bi-Color toning and Adjustable Gradient applied on the right-hand side:
Before/After
There is quite a dramatic difference!
Here’s another before and after image using the Bi-Color Toning and Adjustable Gradient tools:
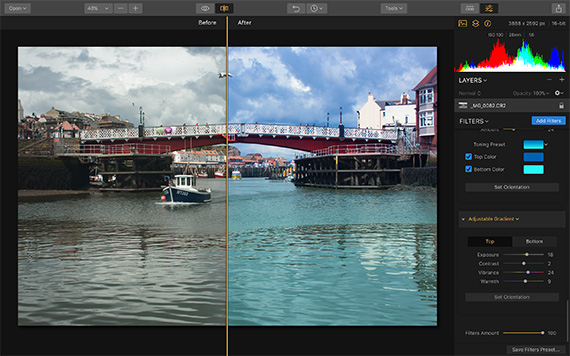
Before/After
The before part of the image is on the left, and the adjusted one is on the right. As you can see, it makes the image much warmer and more vibrant.
Final Thoughts
You can get some impressive results in a short time using Luminar’s Bi-Color toning and Adjustable Gradient filters. The best thing of all is that you can experiment as much as you like, because the changes are all non-destructive until you decide you’re happy with the results and want to save the changes you’ve made.
Luminar Currently on Sale for Cyber Monday:
For the next 24 hours, you can take full control over the bonuses to go into your bundle. You get Luminar 4 at a special price and – depending your selections – you could choose bonuses worth over USD 400!
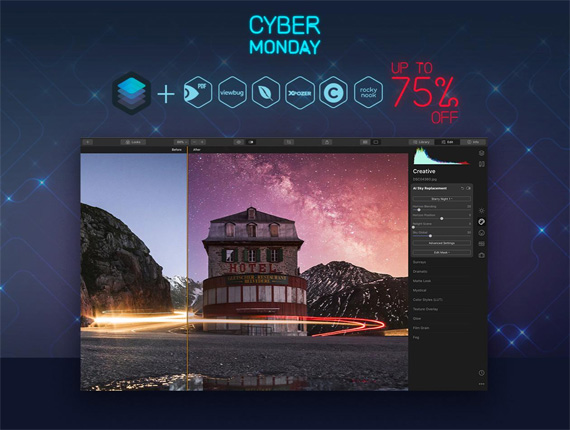
Luminar 4 Cyber Monday
Luminar 4 offers you a totally new approach to photo editing, so they wanted to do something out of the ordinary for Cyber Monday.
Ending soon: Luminar Photo Editor Cyber Monday Sale
Like This Article?
Don't Miss The Next One!
Join over 100,000 photographers of all experience levels who receive our free photography tips and articles to stay current:


Is Luminar only available via download? I saw would prefer buying it in CD