Whether you’re photographing a bottle of Windex or a wine bottle, commercial photography is all about selling a product. In order to do that, a commercial photographer must be able to photograph a product in its best light–no pun intended. That’s an art Alex Koloskov from Photigy has mastered. In the following video tutorial, the master himself shows viewers just how he worked his magic during a shoot for a popular glass cleansing product. Take a look:
As Koloskov explained in the video, much of the process is trial and error. He experimented with a few different lighting setups and even attempted–unsuccessfully– to substitute the spray of Windex with powder that was blown in the air through a straw. Once he discovered where to place his lights, he took two images of the Windex. The first photo was just of the bottle and the second of the Windex being sprayed into the air. He then combined the images in Photoshop to get the final image.
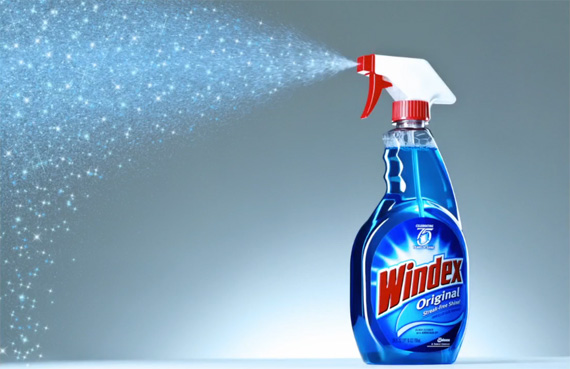
Now, let’s break down his setup and to see what we learned. Koloskov ended up using four lights total. One softbox was placed at camera right of the bottle and a second was placed camera left, just in front of the bottle, to give that nice highlight on the edges of the Windex. A strobe with a small honeycomb grid was setup facing the wall behind the bottle to give that glow you see in the image above. The fourth and final light, a strobe with a blue gel attached, was used only for the photograph of the spray and gave the droplets that nice blue tint. This one doesn’t look to difficult, then again, Koloskov has the tendency to make commercial photography look easy.
Like This Article?
Don't Miss The Next One!
Join over 100,000 photographers of all experience levels who receive our free photography tips and articles to stay current:




Great Info!