Beginner photographers often spend much of their time fumbling around with lights. Although lighting is a fundamental part of the photographic equation, it can take quite some time to truly understand the basics of how different qualities and quantities of light impact a subject. What many beginners don’t realize is that getting the right lighting doesn’t have to be an exhausting process of trial and error. In fact, it’s possible to get stunning results with just a few strategically placed tools. Expert image maker Gavin Hoey goes over one of his go-to one light, one reflector setups. With minimal hassle, it’s possible to replicate this look in just about any home studio or close quarters with ease:
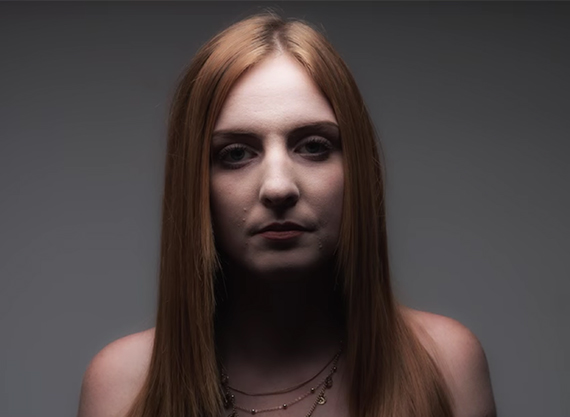
The first order of business, of course, is to set up your light source. To get the perfect beauty light, it’s important to make sure that your source is positioned above your model for an even, natural look. That’s not to say that you should place the source directly overhead. Doing so will cast hard, contrasty shadows and cultivate an entirely different mood and feel. Though there is a time and place for the dramatic feelings that a bit of darkness under the eye can conjure up, the look is not especially well suited for a flattering glamour shoot.
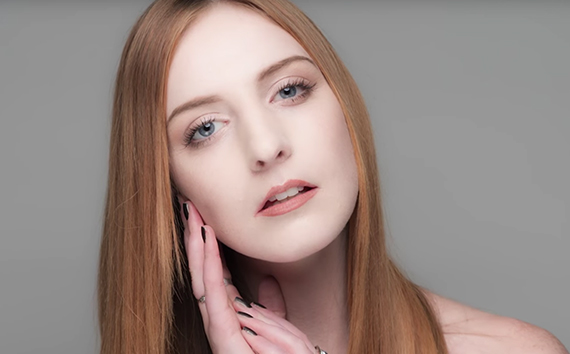
Instead of positioning your light directly overhead, move it back a few feet and angle it so that the source is illuminating all of your model’s face evenly. It doesn’t matter what sort of light or modifier you have in place. Regardless of circumstances, a beauty light’s defining characteristic is that it floods a scene with light and leaves very little hidden in shadows.
When you think you have everything in place, take a few test shots and use a light meter to ensure that your shot is properly exposed. So long as your model is evenly lit and there’s a nice catch light twinkling in the eye, you’re good to go.
Although one light independently can certainly accomplish a lot, there’s just a bit more that goes into Hoey’s setup. Even with the softest modifiers in place, you’ll find that quite a bit of shadowing will still occur under the chin when there’s any sort of overhead light in use. The easiest way to solve this problem? Bring in a reflector.
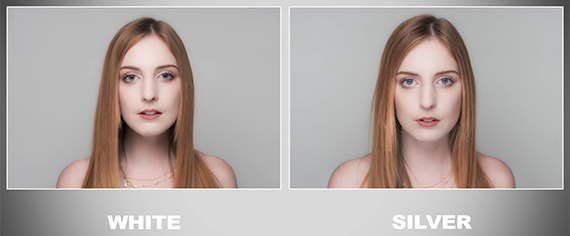
If you’d like to fill in problem shadows underneath a model’s chin, simply pop in a reflector just below the face (positioning in a way such that the reflector is just out of the camera’s field of view). Keep in mind that the size and color of your reflector will impact the quality of light bouncing onto your model. As seen below, Hoey demonstrates in this segment the stark visual differences that occur when using a white and a silver reflector, respectively.
Once you have the shot, all that’s left to do is make adjustments in post. In this step, you may apply as many or as few changes as you’d like. Hoey utilizes Nik plugin software to soften his model’s skin after fixing up a few blemishes with the help of Photoshop’s healing brush. However, in contrast to the consistency this lighting setup provides, models bring in a lot of variables to a photo shoot. Keep in mind that every individual has different problem areas that may need attention, and cater your edits to suit the situation.
There’s no way around it; tinkering with expensive pieces of lighting equipment can be one of the single most intimidating tasks to tackle for those just starting out. But, as this tutorial proves, a little can take a person a long way. Furthermore, this lighting scenario in particular does a fantastic job at illustrating the fundamentals of how studio equipment functions. So don’t be afraid to bring out the best in your subject. Give this beauty light a shot!
Like This Article?
Don't Miss The Next One!
Join over 100,000 photographers of all experience levels who receive our free photography tips and articles to stay current:


Leave a Reply