Photography in animal parks is akin to shooting fish in barrels. It’s easy to land a few easy targets, but it lacks the thrill of tracking the wild, the beautiful and the dangerous in their natural habitats.
Nevertheless, with summer drawing to a close and the new normal of pandemic masks playing havoc with the creative possibilities of many snappers, visiting these conservation areas make for some of the biggest adventures we can embark upon. There has never been a better time to get out and try your hand at wild animal photography.

Photo by Nigel Smith
I’m lucky that in my corner of northeastern France, there are a number of sanctuaries that allow animals to live in semi-liberty, so allow me to share my experiences and suggestions with you.
Equipment
I use Panasonic and Nikon cameras in my photography. My Panasonic bodies, the GH3 and GH4, are comparatively smaller and can equip lighter lenses (45-150mm and 100-300mm), which make them ideal for animal park photography.
That said, to my eye, Nikon’s cameras and glass deliver a more satisfying experience and produce more impressive results, owing to their better auto-focusing, faster frame rates, buffer capacity and generally better colour rendition.
Admittedly, my kit bag—composed of two camera bodies, two lenses and additional equipment—is heavy and bulky. But my load is proverbially lightened by the knowledge that I’m coming away with stronger results.
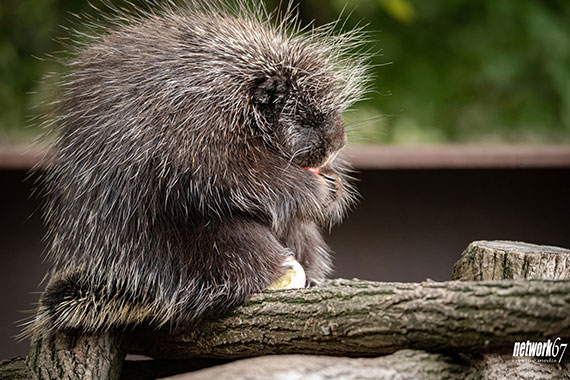
Photo by Nigel Smith
That’s why I now find unbeatable the combination of the Nikon 300mm (f/4) and 70-200mm (f/4) lenses with either my full-frame FX Nikon D810 or D700, and one from my even older APS-C DX Nikon D7100, D7000 or even the venerable but still lovely D40 cameras.
Santa, if you are reading this article, I’d like to add the highly recommended and pricey Nikon 200-500mm f/5.6 VR, or the less lauded but cheaper Tamron SP 150-600mm f/5.0-6.3 G2 to my 2021 collection! (And, of course, who wouldn’t want the Nikon D500, too.)
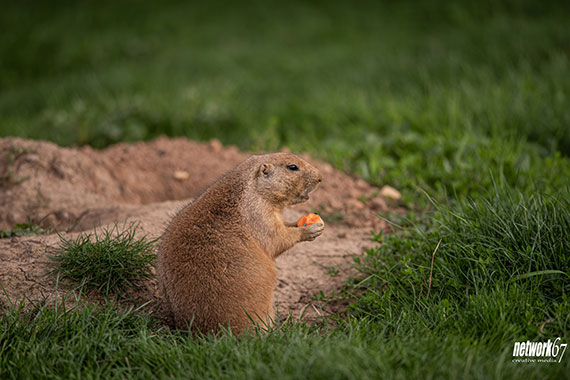
Photo by Nigel Smith
Technical Recommendations
The match-up of full-frame glass on smaller-sensor cameras gives extra zoom length, which is much-appreciated by specialists in animal photography. As much as I enjoy using the very cheap but immensely satisfying Nikon 55-200mm f/4.0-5.6 lens, I have come to prefer the image quality obtained from f/4 fixed-aperture lenses rather than those made for small sensor cameras.
Depending on the available light, the distance to subject and the desired depth of field, I set the camera’s aperture somewhere between f/4 and f/8. I use the lowest ISO possible until mid-afternoon, switching to auto ISO as the light fades.

Photo by Nigel Smith
As for the shutter speeds, I generally shoot at about 1/400 when my subject is stationary, moving to 1/1250 and higher when the animal is on the move.
With the cameras and the lenses almost choosing themselves, I supplement my day bag with a 35mm prime lens for the “people safari,” a tripod or monopod, a waterproof cover for added protection, a lense cleaner, a camera dust air-blower, antiseptic wipes, an umbrella and at least two extra batteries and storage cards.
Throw in a water bottle and some sugary treats, and a day of happy shooting awaits. For the record, leave your flash at home!
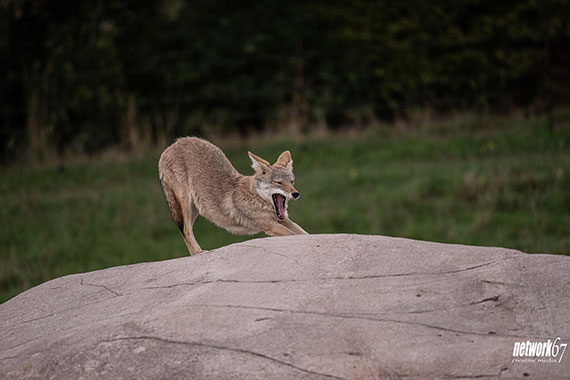
Photo by Nigel Smith
Approach
Because most visitors to animal parks tend to arrive just before lunchtime, I make it a priority to either arrive early or stay until closing. It’s also a good idea to learn in advance when the animals are fed.
I treat animal photography as a portrait shoot, making eyes the essential focal priority. It’s desirable to alternate between landscape and portrait images and, when possible, to stay low and shoot the animals at eye level.
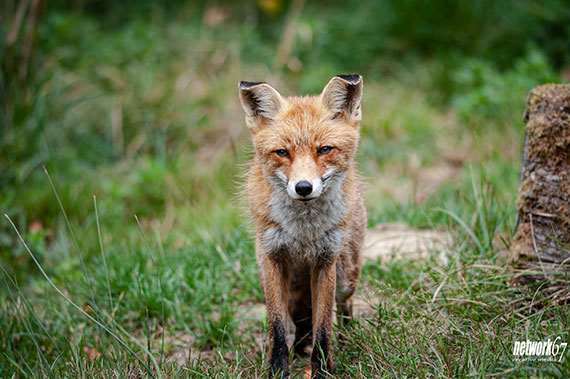
Photo by Nigel Smith
I also like to look for natural frames and boundaries—trees, dens and cabins used by the animals—to add variety to my photographs. It’s a holy grail to find and capture the uncommon, the unusual and the unpredictable. With that in mind, stay alert for other great image opportunities. Longer lenses make it easier to capture the expressions of visitors and provide excellent macro zooms on flowers and insects.
In my experience, taking time and staying with the animal, who may appear to be asleep or disinterested, delivers excellent results. That may mean taking dozens of photographs before you get the desired facial expression or posture but surely, your photos will more than justify the wait.
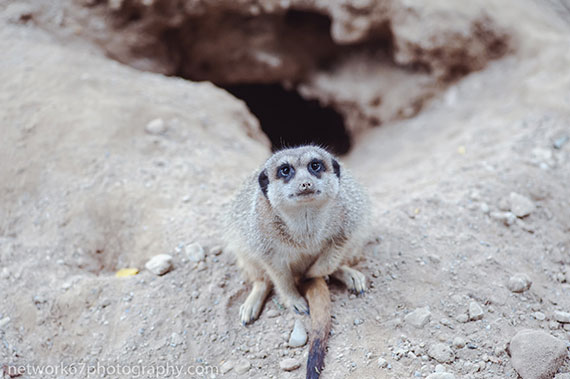
Photo by Nigel Smith
Editing
I always shoot RAW, but the sheer volume of unused images makes a strong argument for setting up to take JPEG photos.
I publish a maximum of six images from each animal, and I make my decisions by zooming in on the eyes of the subject to check that I’ve nailed the focus.

Photo by Nigel Smith
The law of diminishing returns really does apply to animal photography. Meerkats are gorgeous, cute and adorable, and are sure to remain so only when the photographer understands that less really is more.
About the Author:
Nigel Smith is the founder of network67photography.
Like This Article?
Don't Miss The Next One!
Join over 100,000 photographers of all experience levels who receive our free photography tips and articles to stay current:


Leave a Reply