Image sharpening is a big deal for many of us photographers. Thanks to amazing products such as Photoshop, a perfectly sharp image is just a few mouse-clicks away. In this video, Bryan O’Neil Hughes shows us how to get a perfectly sharp image in post-production:
First things first, take the image through Camera Raw. This is easy. If you are using Photoshop CC, click Filter > Camera Raw Filter to enable the camera raw option. Alternatively, the Camera Raw option can be automatically enabled if you change the preference in Photoshop’s file handling to open JPEG and Tiff files in Camera Raw.
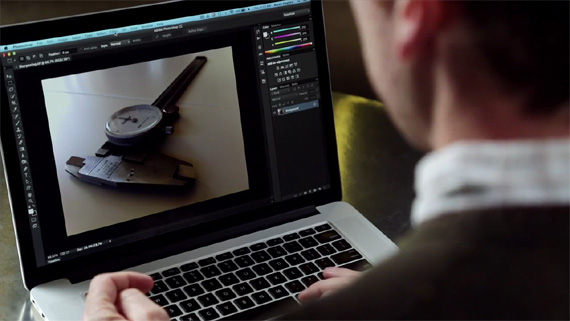
Image Sharpening Workflow
Bryan also suggests to zoom in to at least 100 percent when using image sharpening tools. This will reveal any crunchiness in the images as you go through the workflow. He takes us through a number of tools that you could use to sharpen your images. The ubiquitous Unsharp Mask and the rarely used Smart Sharpen.

An example of what not to do when sharpening your images.
“The thing to know about sharpening is know where you want to sharpen and less is more with sharpening. Try not to overdo it.”
Like This Article?
Don't Miss The Next One!
Join over 100,000 photographers of all experience levels who receive our free photography tips and articles to stay current:


High Pass Filter is another method worth mentioning. I use HPF and add a layer mask so I can brush the areas I want sharpened.