Clients across the globe are constantly seeking out skilled photographers to entice potential customers. However, it can be difficult for a photographer to know where to begin when stepping into the world of advertising. If you’re one of the countless individuals seeking photographic guidance, you’re in luck. Fstoppers contributor Brian Rogers, Jr. provides an in-depth look on the steps he takes to build client-worthy product photography:
Create your set
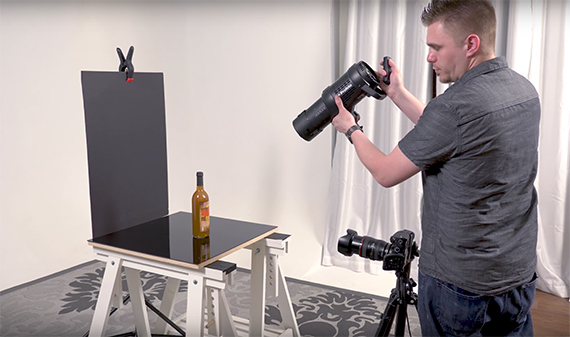
Your set doesn’t necessarily have to be anything fancy. In fact, the sets that do the best job of making a product shine are often pretty simplistic. As you can see in Rogers’ demo, all this particular setup is really composed of is a segment of plexiglass balanced over two sawhorses as a bottom platform, paired with a piece of black foam-core supported by a light stand as a backdrop. Once the scene is set, bring your product into the scene, taking care to keep it as clean as possible.
Configure your light
There’s room for mistakes and imperfections in product photography, as we’ll delve into later in this article. However, nailing your light is one aspect that you’ll want to perfect in-camera. First, make sure that the ambient light in your image is absent or minimal. Artificial lights provide the total control that you’ll want to make a commercial image. Once the ambient light is minimized, begin making adjustments to the lights that you are making. Consider adding a grid or similar light modifier to get the effect that you want. Move the light around and take multiple exposures. Use each shot as an opportunity to hone in and perfectly capture a certain detail, treating every photograph as a piece to a larger puzzle. As you’ll quickly discover, trying to light everything perfectly in camera will prove to be more of a headache than it’s worth. Little by little, you’ll see how the different angles of light hitting your project can work together to build a more detailed, dynamic shape.
Process the RAW files
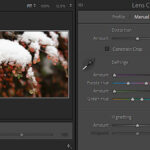
Once you’ve taken pictures at all of your desired angles, it’s time to bring everything into your computer. Rogers uses Lightroom to go through his images, but any software capable of processing large RAW files will get the job done. Most likely, you’ll want to stick to basic, global adjustments like color correction, distortion adjustments, and basic sharpening. When you’re finished, bring the images you’d like to work with into Photoshop.
Merge everything together
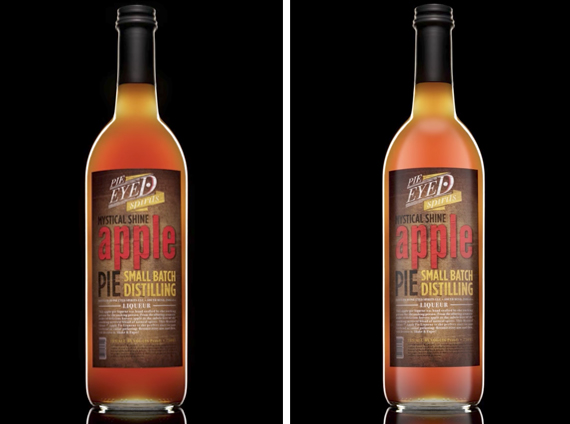
The next step is to take all of your exposures and determine the most effective way of combining your images. You may find it helpful to work in chunks. For instance, Rogers focuses on perfecting the glow behind the bottle before he begins working on the exposure of the label. Experiment with different blend modes as a means of combining your shots (assuming that you used a tripod and applied identical straightening techniques, the exposures should align perfectly). From there, you can accentuate or hide details to your taste using masking tools.
Clean it up
Beauty is in the details. Once you have an idea of what your final composite is going to look like, start perfecting it. Commercial still lives aren’t about capturing products as they are in real life; they’re about putting forth the best possible version of an object possible. Take the time to get rid of any imperfections you find in post. The Spot Healing brush set to Content Aware works especially well for touching up blemishes on a variety of textures. If you have a symmetrical product, you may want to go the extra mile and create a symmetry layer to ensure that both sides are indeed identical.
Make it pop
Don’t shy away from getting creative with client work. Adding subtle artificial highlights or shadows can add contrast and drama, as illustrated in the image above. Likewise, something as simple as accentuating a color can completely transform your image. If your product is simple and straightforward, you may even want to consider using it as a jumping off point for a larger composite. You won’t regret putting in the extra time and effort to showcase your creative flair.
Like This Article?
Don't Miss The Next One!
Join over 100,000 photographers of all experience levels who receive our free photography tips and articles to stay current:


Leave a Reply