Post-processing is an essential part of the photographic process. While the process was limited to fewer people in the analog days, the scenario has changed completely with digital photography. But not everyone understands the essence of the art of post-processing. Some do it just because others do it; some do it to achieve the look that’s “trending.” In this video, photographer Mitchell Kanashkevich shares three simple and practical steps that will change the way you post-process your photos:
1. Check the Technicalities
Before moving on with the heavy editing work, it’s essential that you build a solid base to work with. This is where you check and fix the basic technicalities in your image. This step can involve things like correcting distortions, straightening the horizon, and balancing the exposure. You’re making the image visually appealing without the creative adjustments.


However, there are certain situations where the limitations of the camera kick in. The most obvious case is that of dynamic range. Since cameras cannot capture the details in the shadows and the highlights at once, you may have to live with overexposed areas in the photograph.
If you really feel that recovering the highlight details is important to you, that can lead to crushed shadow details. Depending on the situation, that can work.

2. Post-Process for Feel, Mood, Ambience
Start by asking yourself these two questions:
- How did I feel at the scene?
- How do I want the viewer to feel?
Next, ask yourself the following questions. The answers will help you decide what and how much of the adjustments you should be making.
Cool or Warm White Balance?
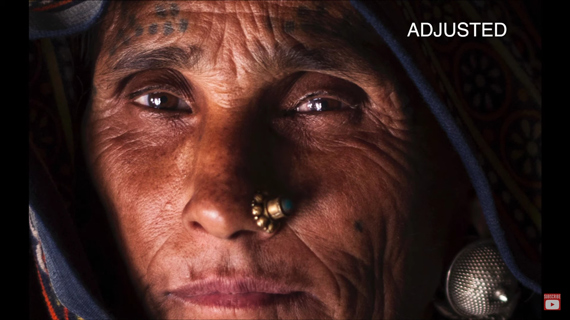
One convenient but often overlooked factor that helps set mood is white balance. The auto white balance in modern-day cameras does a good work of choosing the correct white balance. But in some cases, even a slight adjustment of the color temperature can have a great impact on the final image.
A slight adjustment in white balance changes the mood in the image.
“I want to make everything as close as possible to how I remember the scene.”
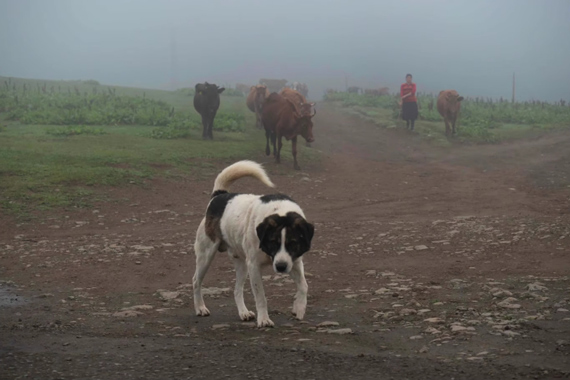
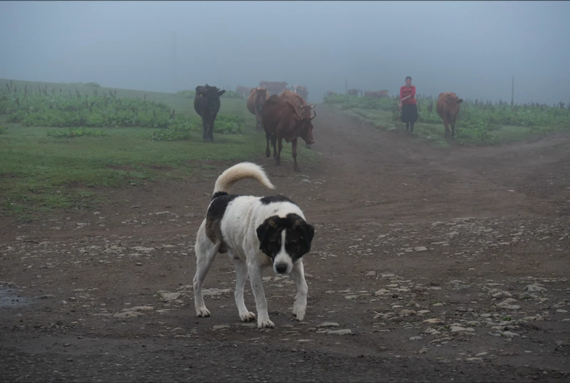
You can use cool color temperatures when photographing foggy, rainy, or stormy weather. For vibrant sunsets, go with a warmer white balance setting. And for indoor natural lighting, seek to create a neutral look.

Contrasty/Punchy or Soft?
Then there’s the question of whether your image should appear contrasty or soft. If your image already has a wide range of tones straight out of the camera, you don’t need to add more contrast.
If you’re not happy with the way the image has come out and you feel the need to make it more dynamic, try adding some contrast.

And don’t be afraid of decreasing contrast either if the image demands a softer look.

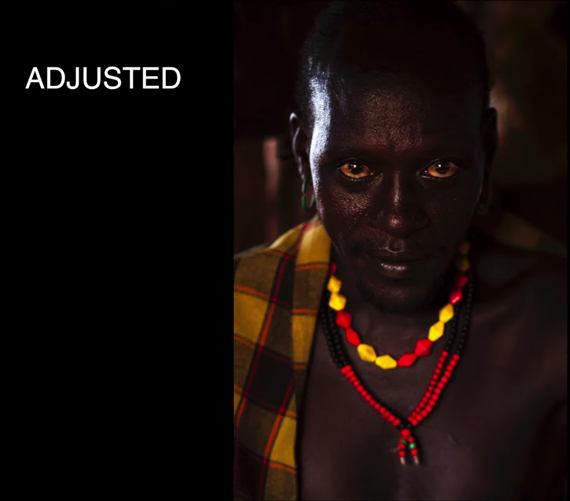
Dark or Bright?
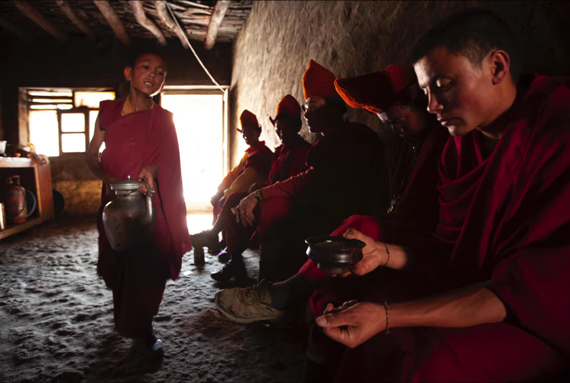
If your images appear dark, it’s not always necessary that you brighten them up. If you want to create a sense of mystery, see how you can use darkness to your advantage. In the following case, the people seem like they’re appearing from the dark. Increasing exposure would have killed the mystery.

But in cases when you want to convey a bleached feeling, increasing exposure will do the trick. When brightening the image, make sure that things don’t appear obviously too bright.

3. Identify the Story and Post-Process for It
The concept is quite simple. Make the more important elements in your photo stand out more. And if something is distracting or irrelevant to the image, make it less obvious. This may call for special local adjustments. Use local adjustment tools in Lightroom like the brush adjustment tool, gradient tool, and the radial filter tool to make very specific adjustments.

“Achieving a dramatic difference is not the point. The point is to communicate the story effectively even if that means that you’re being subtle.”
This three-step guide has important pointers to help you create images that communicate your feelings. Remember, the key is not to follow the trend, but to create a representation of what you felt or want viewers to feel.
For further training: Understanding Post-Processing Video Course
Like This Article?
Don't Miss The Next One!
Join over 100,000 photographers of all experience levels who receive our free photography tips and articles to stay current:


Leave a Reply