The highest waterfall in the world is Angel Falls in Venezuela, South America. It measures 3,212 ft (979 meters). Getting a good photo of Angel Falls could be a challenge simply because it is so high. You have to get the right lens—probably a wide angle lens—and you must find the right position from which to shoot. The waterfall is nearly a kilometer in height.
“Salto Angel” captured by Paulo Capiotti.
Not everyone wants to travel to Venezuela to capture the world’s highest falls, but photographing waterfalls is fun and rewarding when you see the results of your efforts in print.
Here are ten tips that will help you get the best photos from your efforts:
1. Height adds drama. Even if a trip to South America is out of the question, you can find waterfalls that are dramatic because of how tall they are. (If you live near Norway, you are in luck. Seven of the top 20 highest falls are in Norway.)
2. Check the weather. Of course, you don’t want to be out in weather that is not conducive to getting good photos, but more importantly, make sure the place you will be traveling to has had enough precipitation. Periods of low rain or snow could lead to a disappointing flow of water.

Photo by Forest Wander; ISO 100, f/14, 30-second exposure.
3. Plan your trip. Make sure you familiarize yourself with the best time of day for your photo adventure. Even though early morning and late afternoon are usually the best times for lighting, they may not be optimal for the waterfall you have chosen. Find out what the lighting conditions are where you will be shooting to get the best results.
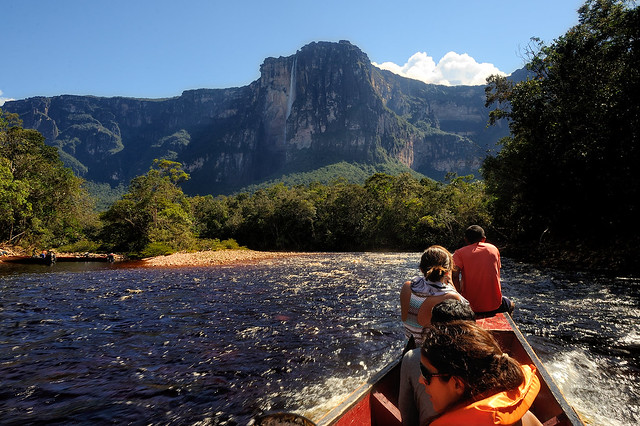
4. Change your perspective. Normal waterfall photographs take in the whole waterfall, but being creative with your position can get you some stunning results. Try getting above or underneath. You will want to protect your gear if you are in the spray area, but it may be worth the effort. Sometimes there are boats to take you right up to the bottom of the falls, and in other places there are falls that you can go behind.

Photo by garshna; ISO 100, f/16, 3-second exposure.
5. Composition changes photos. Try different focal lengths and positions to add interest. Include scenic objects such as tress and rocks to increase interest as well. Your camera and lens choice can be a major factor in your photo shoot. Again, change lenses to see what the difference is.
6. Use a filter. Waterfalls offer some very wide ranges of color and lighting. A neutral-density filter may be just the thing for adding depth of color range to your shots. Polarizing filters may also be helpful.
7. Check your shutter speed. Some of the most dramatic shots are made with either a very slow shutter speed or a very fast shutter speed. Slow gives a nice, silky look. Fast will stop water drops in mid-air to add drama. Try both.
8. Take a tripod. Steady is good, especially when slowing down the shutter speed. You want smooth and silky, not blurry. Also try using a delayed shutter release or remote release switch when using slow shutter speeds.
9. Check your white balance. You can make use of camera presets such as cloudy or sunlight, but using a filter can change how the camera perceives the correct white balance. One way to overcome this problem is to shoot in RAW mode. Then you can set the white balance in your post processing using Photoshop or some other editing software.
10. Use bracketing. Most camera have the ability to bracket exposures up to three stops. This will help get all the light ranges into the shot. You will need to combine the bracketed exposures in post processing; some cameras now have HDR capability built right into the camera software.

Photo by Risto Kuulasmaa; ISO 100, f/22, 1/50-second exposure.
No matter which waterfall you choose to photograph, take lots of shots, change lenses, and try different camera settings. The most disappointing experiences are when you get back to your computer and discover you could have made a few minor adjustments and gotten much better results.
About the Author:
Wayne Rasku has been an amateur photographer since 2003. He runs sites related to photography classes in Atlanta, Georgia, and a Canon lens organization site.
Like This Article?
Don't Miss The Next One!
Join over 100,000 photographers of all experience levels who receive our free photography tips and articles to stay current:


Hi there! Thanks for this very helpful article! I was at Niagara falls in early October and I had one heck of a time getting good photos of it. I wanted to get that smooth and silky feeling, but I pretty much failed miserably. I brought my tripod and my 55-250mm lens and put the ISO as low as it could go (200) and put the Aperture up (or down?) to as big a number as it would let me…and it was still too bright. Anyway, I really enjoyed shooting it anyway and I hope I can go back and try again. I was disappointed because it was a dark rainy day and I was hoping that would help that smooth and silky effect! Do you have any ideas about how to get it to not be so bright? I have a Canon Rebel T1i so I should be able to create that, I’d think.
A polarizing filter is very effective on flowing water. It helps removing reflection on water and on nearby rocks and emphasises foamy areas. It also enables you to lower the shutter speed.
The Vari ND filter range from Singh Ray (http://singh-ray.com/varinduo.html) is a killer tool to shoot waterfalls. It reduces shutter speed while still enabling to compose. The ND Duo and Trio incorporate a polarizing filter. The only drawbacks of these filters are their price and thickness (don’t use them under 24mm on a full frame camera)
Shutter speed is of paramount importance when trying to get the water in motion effect. Some waterfalls are high enough to offer that silky texture naturally, but others need longer exposure (1s to 5s) to do so. Shutter speeds above 10s will often remove any texture from the water and turn foam into a cotton-like zone. Testing is indeed a must.
Overcast days are ideal for shooting waterfall located inside woods. With a cloud cover, you avoid having to include dappled lighting in your picture. But in that case, you have to avoid including the sky in the picture.
http://www.france-in-photos.com/burgundy/morvan/cascade_fougeres.jpg.php