Light modifiers are great. They can make a small light source appear larger. They can make hard light appear soft. They can even focus light down to a narrow shaft of light. However, when you are shooting outdoors, light modifiers, such as umbrellas, can quickly become cumbersome, as they turn your light stand into a sail when the wind picks up. Unless you have an assistant or two to lend a hand, carrying sandbags to anchor your light(s) is not an easy task. This tutorial will lead you through how to balance a hard light source with the ambient light to soften the appearance of your light. Note that I am not claiming that this is soft light; merely that it appears softer when balanced with the ambient light. If you have the luxury of an assistant to carry or hold all your gear, by all means use your softboxes and umbrellas.
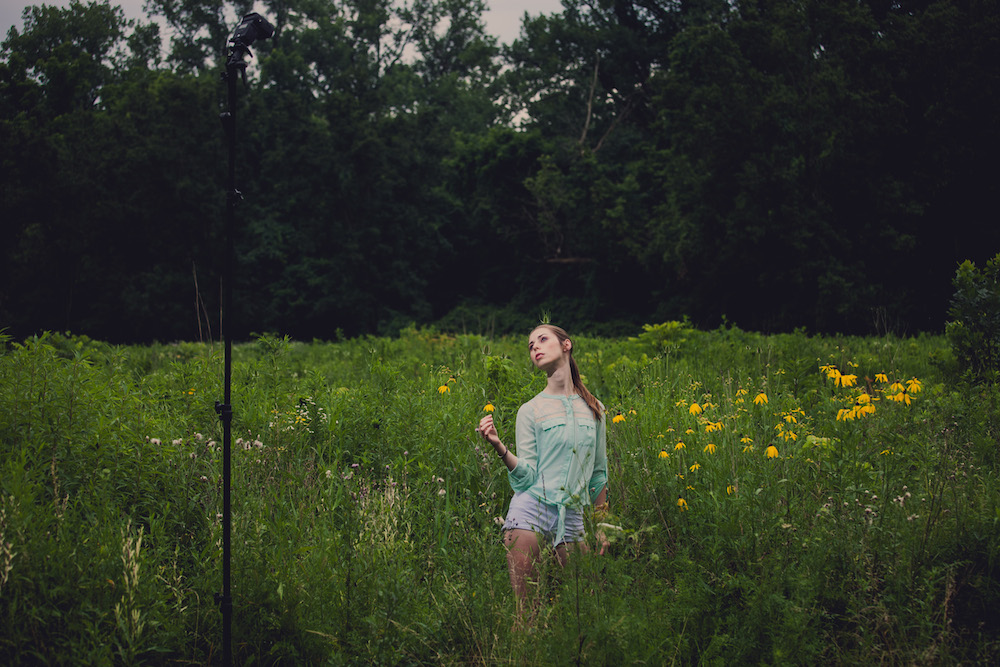
Note that the single, barebulb speedlite was moved back several feet from subject and raised to around ten feet.
Your first goal is to make your light spread larger. This is done by backing the light off of your subject several feet. This allows the light spread to cover more of your subject. Because of the inverse square law (which I won’t go into), you will lose a substantial amount of your light output before it reaches your subject. This isn’t exactly a bad thing, however, assuming you aren’t trying to overpower the sun with a single speedlite. Besides increasing the spread of light, from the top to the bottom of the subject, this extra distance also helps even out the light from the front to the back of your subject. In other words, her right arm, which is closer to the light, is lit the same as her left arm, which is further away from the light. If you are using a speedlite, it’s helpful to set the zoom as wide as it will go, such as 24mm. If you are using a studio strobe, such as a Profoto head, pull the zoom reflector all the way back, to allow the widest possible spread. Also, consider raising your light several feet above your subject. This makes the light appear like a more natural occurring light source, such as the sun.

Flash at 1/8 power. Camera at ISO 50, F/9, 1/200.
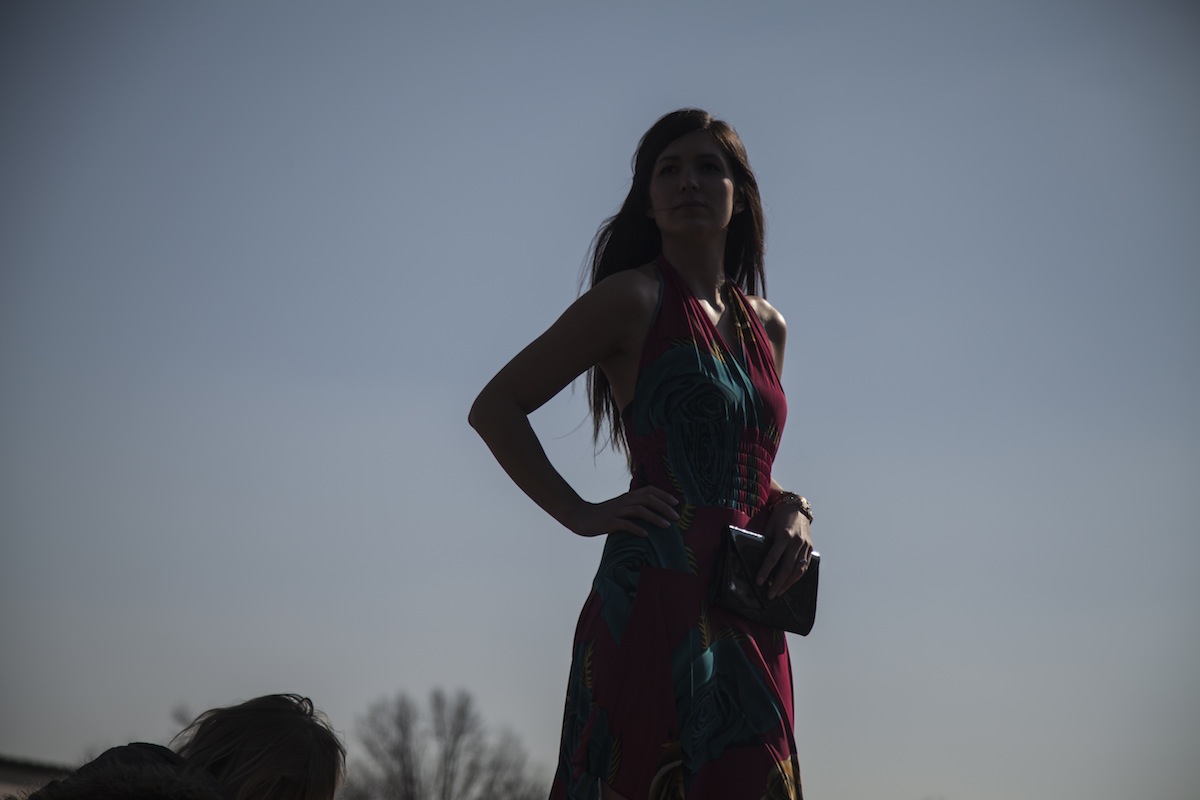
Next, get a reading of your ambient light. As you can see in the first image, the ambient is considerably darker than the strobe light, making it appear very harsh. I brought up the ambient by lowering my shutter speed from 1/200 to 1/80 and opening my aperture up from f/8 to f/5.6. Note that if lowering the shutter speed alone had brought the ambient light to a good level, I wouldn’t have needed to adjust the flash settings. However, since I needed to also open up the aperture several stops, that meant I also needed to lower the output of the speedlite. Since it was a rather gloomy day outside, my already low flash output of 1/8 was lowered even further to 1/16.
Flash at 1/16 power. Camera at ISO 50, F/5.6, 1/80
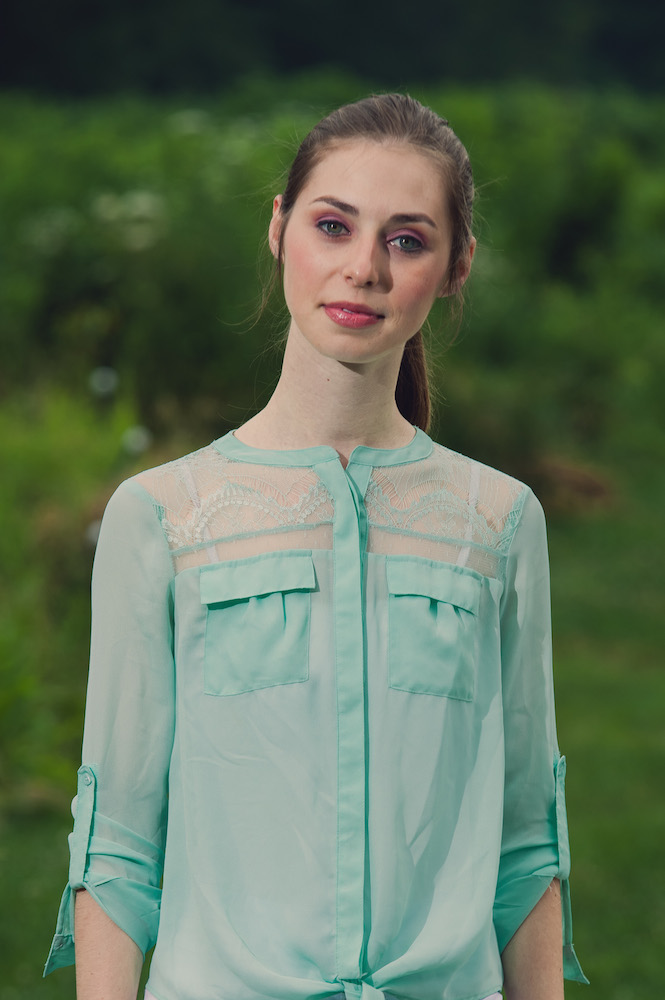
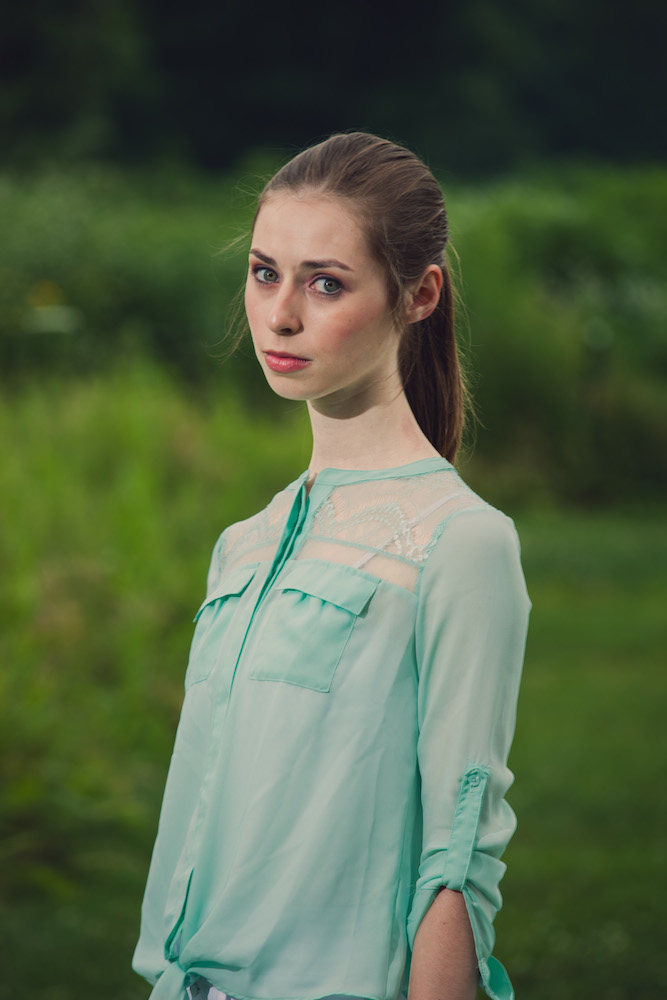
After the ambient light is brought up, you can see that it begins to fill in the hard shadows, making the strobe light appear a little less harsh. The next thing you need to keep in mind is the direction of the subject to the light. Notice that when the subject turns away from the light source, the light creates harsh shadows on her face. By having the subject turn in to the direction of the light (or moving the light to a more frontal location), you eliminate some of the unflattering shadows.

If the subject is facing away from the light, this can create harsh shadows.
Turning the subject in the direction of the light helps alleviate some of the harsh shadows.
I also recommend using a longer focal length lens, such as a 70-200mm. Having a 2.8 aperture isn’t important either. I have the 70-200 f/4, and I prefer this, not only because it is half the price and lighter in weight, but because I would be shooting around f/4 anyway. The added depth of field from the smaller aperture allows my subject(s) to be sharp, from the tip of their nose to the back of their head. Yet I am still able retain a nice, soft depth of field in the background, due to the lens compression created by shooting at 200mm. This softening of the background further creates the impression of soft light.
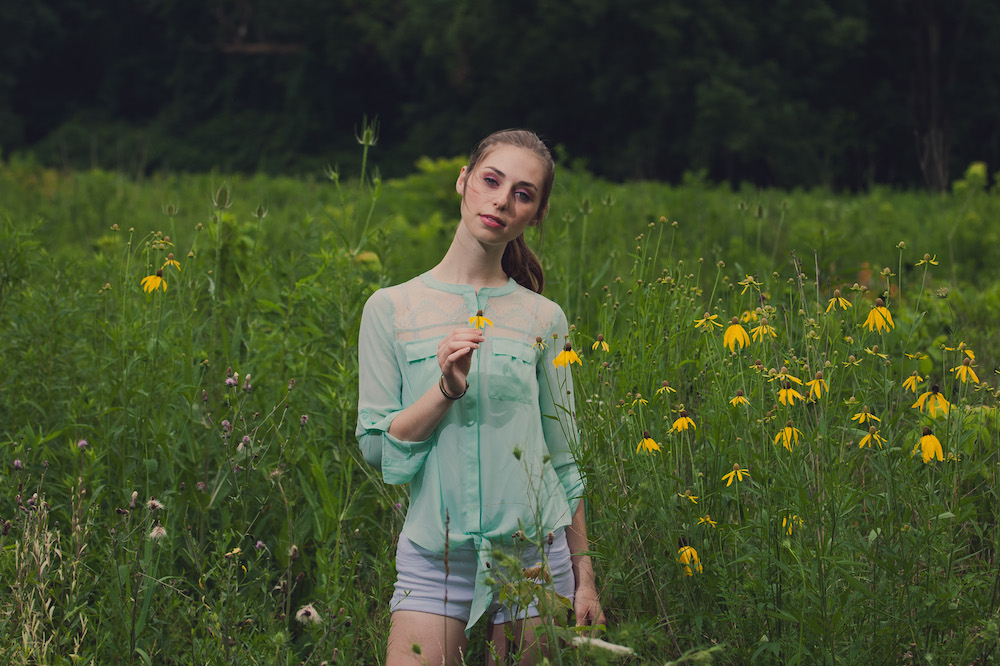
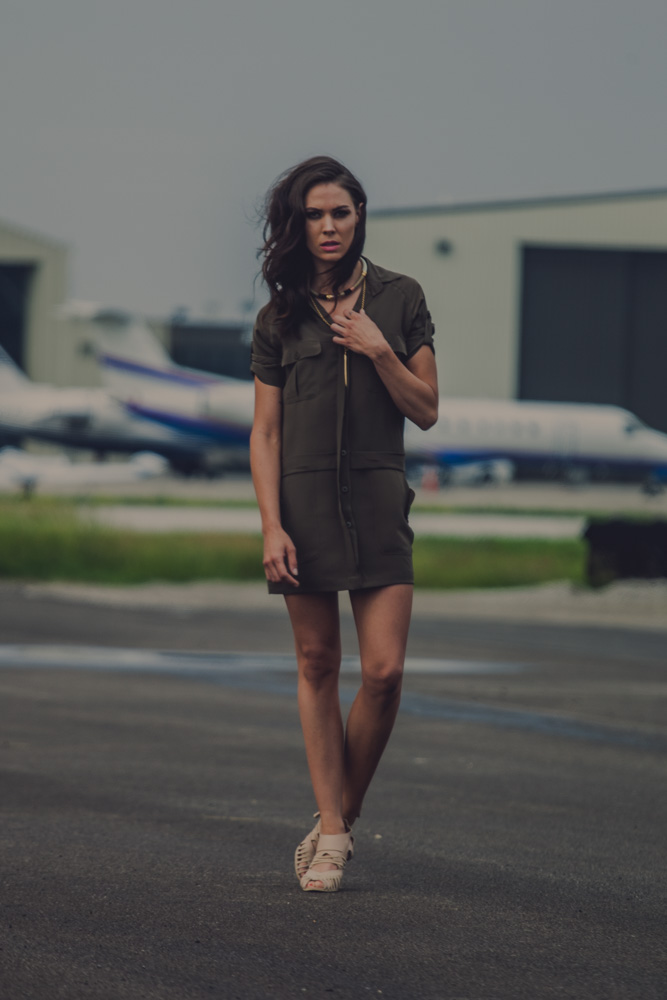
Final image.
Now that the light is balanced and the subject’s general direction has been determined, the shooting can commence. Note that my final composition is a wider one, allowing the flowers and more of the park to show in the shot. This wider composition helps take the focus off any remaining hard shadows, such as the one below her jaw. Check out a few examples where I used this technique in other shoots.
Unlit, midday sun.

One, barebulb speedlite at full power. Note that I was shooting at 2.8, using a variable ND filter to lower the ambient light.
unlit

One, barebulb speedlite at full power. Note that I was shooting at f/4, using a variable ND filter to lower the ambient light.
About the Author:
Nick Fancher is a Columbus, Ohio—based portrait and commerce photographer. Author of Run and Gun Lighting Resource, he graduated from The Ohio State University with a BFA in fine art photography in 2005.
Like This Article?
Don't Miss The Next One!
Join over 100,000 photographers of all experience levels who receive our free photography tips and articles to stay current:


Michael I tried this at home with 2 speed lights with no modifiers focused on a smurf toy. First I put the speed lights very close to the toy and killed ambient light. Shadows all around the toy were dark and inky. Moved the lights back twice as far away and the light spread filled in the shadows and resulted in a more pleasant exposure. A wider light spread gives a result that is similar to a very large light source close to the subject. I don’t think speedlights without modifiers can ever be a soft light source no matter how close to the subject because they are too small. So they have to be set further back to make their light spread behave the way a large light source would.
Agree with Michael above as far as the distance from the subject from the light goes. However, without spending a fortune in modifiers on the budget white sheet of paper folded onto the speed light increases the surface area of the light thus softening it up.
You’ve got this a bit backwards. Pulling your light source back, may even out the spread, but it is not softening the light in the least, its making it more harsh.
The only way to soften a light source without a modifier, is to move it closer, so the light has an opportunity to wrap and fill shadows.
Moving it farther away does the opposite, it creates sharp, high contrast shadows.