The entry into the world of macro photography often starts with the macro mode on a point & shoot camera. But for DSLR shooters the it’s a bit more complicated. You’ll need either a dedicated macro lens, which is expensive, special adapters for reverse mounting a lens, or extension tubes. Adam Kappa explains how to use extension tubes for shooting macro photography on a budget:
Camera
Any DSLR will do. No need to go overboard or splurge on expensive gear.
Lens
A kit lens is enough for the purpose of shooting macro photos using the technique discussed in the video.
External Flash
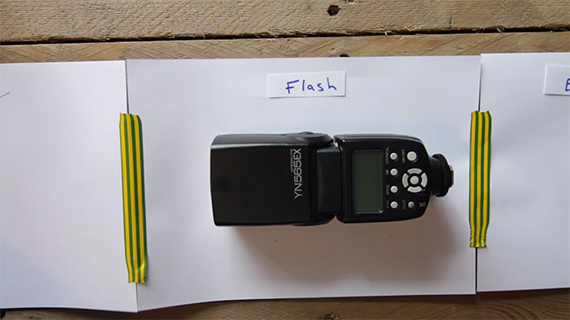
You need something to throw light onto your subject. Ambient light is not enough, as the working distance is really small. You can get the cheapest external flash that you can find, as long as you can manually set the amount of light that the flash can fire.
Extension Tubes
Extension tubes are basically what the name suggests.
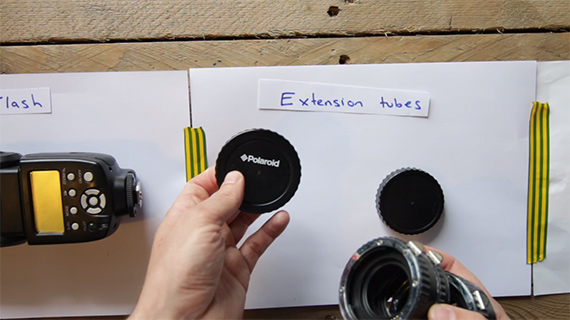
They extend the front element of the lens closer to the subject and therefore away from the sensor. There are different versions of extension tubes. Some expensive ones allow you to auto-focus. But you don’t always need auto-focusing extension tubes.
Softbox (DIY)
This part is important, especially if you’re using an external flash.
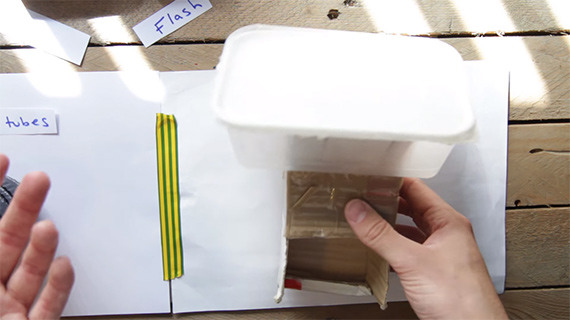
You need to be able to find a way to soften the light. To make a softbox, all you need is a clear takeout food box (or similar), paper towels, and transparent gum tape (brown tape will also do).
Camera Settings
Set your camera to manual focusing. Set your focus to infinity. Turn off image stabilization.
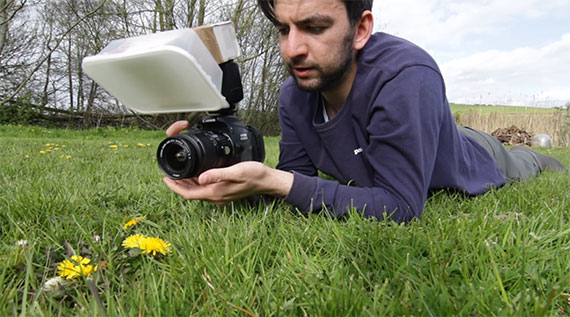
Choose a big f-number (e.g. f/11) to get a larger depth of field. In a macro setting the smaller the f-number, the quicker the image will lose depth of field. You may not want that. On the other hand, some photographers do want that. So, it all depends on your preference.
These settings are subjective and depend on your specific shooting requirements. Leave the shutter speed at 1/200 of a second. This will be dependent on the maximum sync speed of your camera. Leave the ISO at 500.
Finally, adjust the focusing and the zoom rings to get closer or farther away as necessary for the right shot.

Have you tried using extension tubes? How did it go?
Like This Article?
Don't Miss The Next One!
Join over 100,000 photographers of all experience levels who receive our free photography tips and articles to stay current:


The moment of photography’s “puberty” was around the time when the technology moved from analog to digital although it wasn’t until the arrival of the Internet-enabled smartphone that we really noticed a different behavior. That’s when adolescence truly set in. It was surprising but it all seemed somewhat natural and although we experienced a few tantrums along the way with arguments about promiscuity, manipulation and some inexplicable new behaviors, the photographic community largely accommodated the changes with some adjustments in workflow.
Extension tubes are awesome, albeit challenging. Highly worthwhile, IMO.
No mention of reverse lens, the cheapest way of going macro.