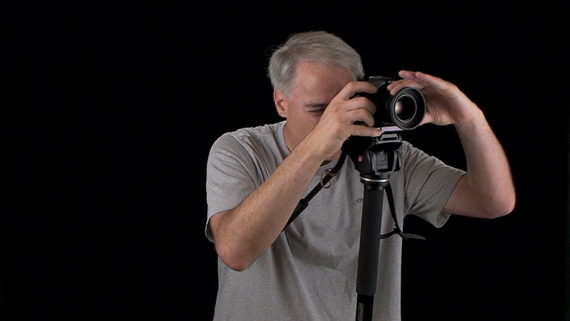
Here’s a photo tip you aren’t likely to find anywhere else… how to use a monopod to get better photographs. A monopod (like the tripod) is an essential piece of camera gear.
“Manfrotto 561BHDV Monopod” captured by Dave Dugdale
We all know that using a tripod will give us cleaner, sharper photos. That’s a given. But lugging around a tripod can often be a major challenge–not to mention there will be a lot of times when it is impossible to use one. There just isn’t room.
So, most photographers (at least the ones who are serious enough to want good photos) end up getting a monopod and are greatly disappointed. Generally, it ends up in a closet somewhere never to be seen again.
If you didn’t know, a monopod has the same head and so on as a tripod, but it only has one leg. This design makes it lighter and easier to carry around. It can even be used as a walking stick if you’re trekking through the wild.

“Agapanthus Buds Macro” captured by Donald Windley using a Vivitar monopod
But, after one or two uses, most of us come to the realization that it isn’t any steadier than shooting handheld. In fact, with only one leg, it wobbles around so much that it is usually worse than shooting handheld. So we toss it in our unused camera gear graveyard and never touch it again.
Big mistake! The monopod is every bit as stable as a tripod; it’s just that few of us know how to properly use it. We use it as a stick with a camera on top. Instead, we should use it like a tripod.

“Tiger at Smithsonian National Zoo” captured by Jason Pier using a monopod
How to Use a Monopod
- For stability, we need three legs like a tripod. Here is how we turn a one-legged monopod into a tripod. The monopod itself is one leg and our own two legs–spread apart at a bit more than shoulder width–are the other two legs of the tripod.
- Place the monopod in front of you so that when you tilt it back to bring the camera to your eye, it forms a 45-degree angle. You will have to increase its length by quite a bit to get the 45-degree tilt and still have it at eye level. There is your tripod–your two legs and the monopod.
- The camera should be attached to a swivel head. Tilt it forward so that when the camera is at your eye, the lens is level even though the monopod is leaning at 45 degrees.
- When you’re shooting, get into a good solid stance, and hold the camera firmly against your face. You now have a virtual tripod that is every bit as good as most actual tripods–with the added benefit of being easy to work with.
This photo tip can help you rescue your monopod from the closet and turn it into one of your most useful accessories. Since it’s easier and lighter to carry than a tripod, you’ll actually use it and create far better photography.
About the Author:
Dan Eitreim writes for OnTargetPhotoTraining. He has been a professional photographer in Southern California for over 20 years. His philosophy is that learning photography is easy if you know a few tried and true strategies.
Like This Article?
Don't Miss The Next One!
Join over 100,000 photographers of all experience levels who receive our free photography tips and articles to stay current:


Great advice. Practice, practice and practice some more.
Jim D.
Interesting video. I use a monopod quite a bit and have a ball head on top. I do disagree with the idea that using a swivel head and swinging the camera to the side lowers the center of gravity. It actually does the opposite. If the camera is on top of the monopod, the head of the monopod is below the camera. If you swing the camera to the side you will have to raise the head of the monopod higher to get the camera at the same level. In this position, the weight of the monopod head is even with the camera instead of below it, thus the center of gravity is higher. In addition, the weight of the swivel head is more than just a ball head, further raising the center of gravity.
Great tips! Monopod out of the closet, purchased tilt head, heading out to shoot now. Found a tilt head that uses the same mounting plate as the ball head, an additional positive. It’s the Sirui L-10 Monopod Tilt Head. Thanks for the tips.
I use a monopod often. It can ALSO be used to support the camera when not shooting, it is on the ‘Pod instead of your hand and arm. Balanced on the monopod relieves stress on your arms. In the field, it can be used to ward off rattlesnakes and even two legged critters, if you catch my drift. As was mentioned , it can be used as a walking stick ,any local.
ME GUSTARÍA VER UN VÍDEO DE LA TOMAS QUE SE REALIZO CON EL LENTE NIKOR-14mm
Please post a youtube video of you taking pictures with a monopod. I am having a hard time visualizing some the steps you wrote. A picture is worth a 1000 words. A video is worth a book. A close up of the swivel head would nice.
I’ve heard that image stabilization (IS) should be turned off when a camera is mounted on a tripod, but I’ll guess that leaving IS turned on is recommended for this monopod technique. Am I right?
AS Joe above says please tell us more about swivel heads. Please publish a website where we can all see one of these swivel heads please.
Was with you to the ‘swivel head’ if that’s the essential addition that makes the big differencewhy don’t all monopods come with one?
I have been using my monopod with good results, but I do not have a swivel head. Tell us more about good swivel heads.
Must dig my old and mainly unused monopod out and try again!