In the past we’ve touched on portrait photography more than a few times, but I’m a firm believer that when it comes to subjective art the more opinions you have the better. Today we’re hearing from Jeff Rojas on the use of two speedlights to define facial features:
As you can see above, Rojas uses a very simple lighting setup. His portfolio shows that he is particularly fond of these setups, and his pictures have a lot of character as a result. It makes the subjects in his portraits look more human, more realistic than the over-edited pictures that we keep seeing nowadays. Just take the subject in his video as a perfect example:
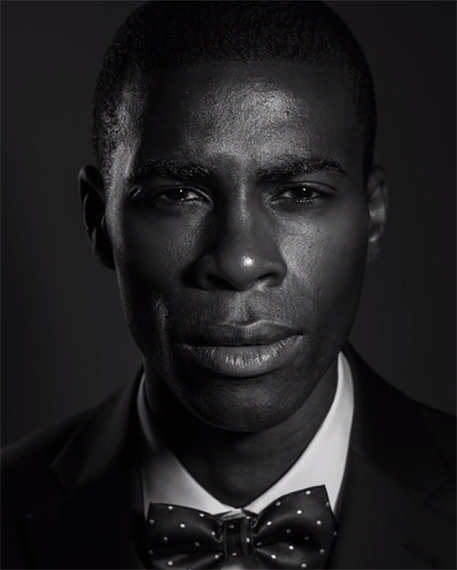
Two lights dramatically define the subject’s facial features.
Rojas placed the two lights opposite each other—one behind the subject and one in front, both at an angle. This makes for a clearly defined face and a touch of shadow, as well.
As a bonus feature, if you have the subject move his face a bit you end up with entirely different takes on his face:

Simple changes in light placement change the look of the portrait.
You can get quite a few different looks just by making small changes to two speedlights.
Like This Article?
Don't Miss The Next One!
Join over 100,000 photographers of all experience levels who receive our free photography tips and articles to stay current:


Hi, what kind of softbox do you use in your tutorial?. I am using two speelites, but don’t have small but still effective softboxes yet. Yours seem to be interesting.