Setting up a home photography studio might seem like a straightforward option at first. All you should need is some lights and a background. Sounds easy, doesn’t it? The reality is once you start looking, the options can be overwhelming, as well as the price tag. Creating a successful studio to help you deliver great shots is a matter of learning exactly what you will need to make the setup perfect for your space and needs.

To create a successful studio you must take the time to understand the advantages and disadvantages of your space. Is the room too cramped? Is the ceiling too low? Are the windows facing north or south? Do not feel pressured to buy everything straight away, before fully understanding what you are working with. Read the following tips to learn how to creatively and economically make the most of your studio space.
1. Camera and Lenses
For studio work, a lens range from 24mm to 85mm works the best. For full body shots, shooting at a distance of 20 feet is ideal, but less than 15 feet deep there will not be enough room for shooting full body length. In a small space avoid using a wider lens, as distortion can become an undesirable issue. A good lens to start with is to stick with the classic top choice for photographers: a 50mm prime lens. It’s perfect for low light, creative framing, and beautiful bokeh.
2. Basic Lighting Setup
After learning the basic lighting configurations, a simple but versatile light setup requires at least three strobes (prices range from $300 to $3000 per unit), light stands or heavier C-stands, and wireless synchronization to link the strobes to the camera. Speedlights are a good starting option as they are small, light, portable, affordable, and run on batteries. A studio strobe is much larger, runs on AC power, and has faster wait time between flashes but it’s a costlier option. Continuous lights can be better for beginners to see the results immediately, but they do put off a lot of heat.
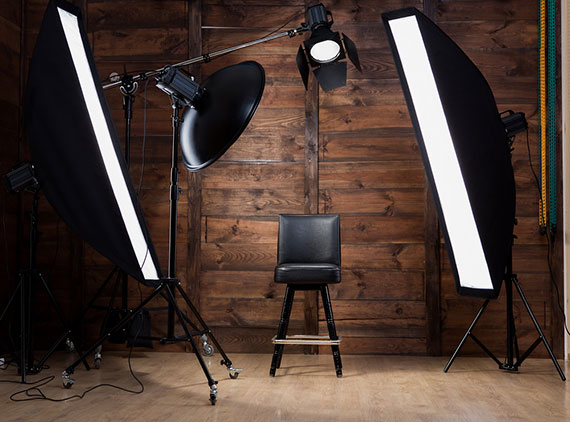
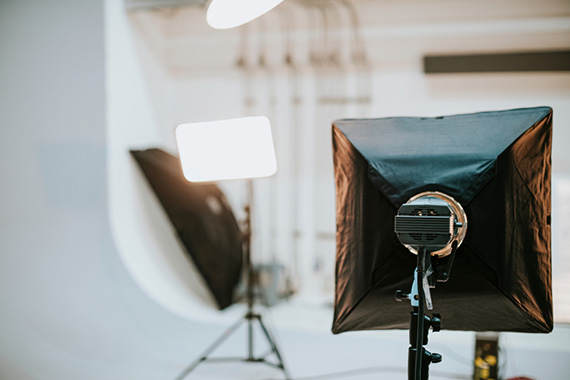
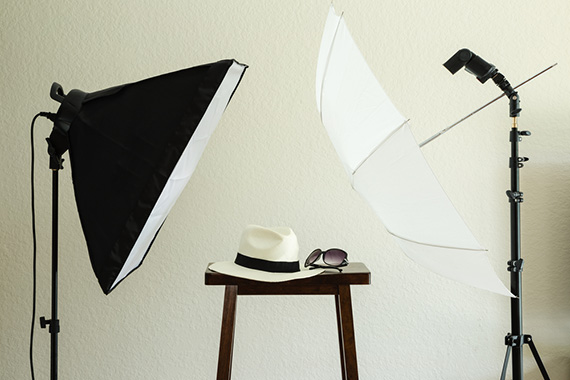
3. Light Modifiers
Modifiers are important to enhance creativity, diffuse the light, and control mood. What you are illuminating, with your style and budget in mind, play a big role in choice. Umbrellas are a good place to learn the basics. They create soft, forgiving light that is flat and even. Scrim panels are the most versatile modifier for large areas of diffused light and are an easy DIY project. Once you’ve mastered the basics, experimenting with softboxes, octaboxes, gels, grids, and any mixture of them brings your creativity to life.
4. Backdrops
Perfect for removing distracting backgrounds, a good backdrop allows you to have control over your photos. A good start is a seamless paper or vinyl backdrop. These backdrops are affordable, easy to set up, and come in a big choice of colors. Fabric backdrops are more expensive and require cleaning but are durable and come in a huge variety of choices. A good trick is to use a simple gelled light to change the color of a simple solid backdrop.
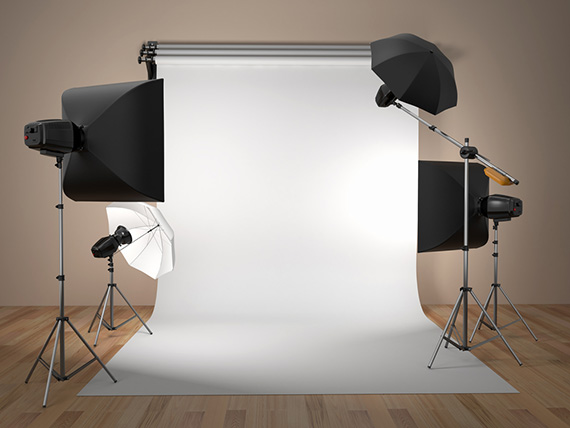
5. Reflectors, Tripods, and Stands
A reflector is a great simple tool that gives you fast control in varied light conditions and allows you to experiment and shape your light. Used in a number of ways, they can fill in shadows, add light from a window, or create a rim light. A 5-in-1 reflector is the most useful. It collapses down and has interchangeable surfaces in white, silver, gold, and black. It can also double as a diffuser panel.
A tripod or stand is needed for reflectors and other studio equipment, and it is always useful to have at least five around the studio. Tripods are perfect for your camera for extra sharp images, lighting, and other equipment. Stands are much more sturdy to support and protect heavy and expensive equipment.
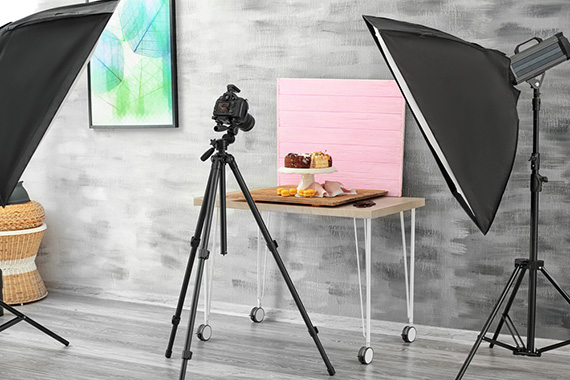
6. Props
All sorts of props can be useful around the studio from fans and chairs to fabric and accessories. They add a new and interesting element to your photos. Props can quickly get repetitive and overused in your shots, so try mixing it up. Start collecting things for your prop collection from garage sales, the attic, thrift stores, flea markets, hardware stores, estate sales, craft stores, or even Etsy and Craigslist. Use your imagination and you can add the right spice to your photographs!
Planning a studio is a great step for attracting clients and growing your photography business or simply having a lot of fun. Making it work in your space can be tricky but with the right knowledge and planning, you can make a controlled environment to practice your craft. Don’t get trapped on what makes the ideal studio. Let your creativity and motivation make the most of what you can afford and work with it.
About the Author:
Sergey Kostikov is a fashion photographer and the owner of FD Photo Studio, a studio rental company that offers affordable photography rental spaces complete with equipment in 30 studios across Los Angeles and New York. The company also hosts specialized events and workshops to help aspiring photographers hone their skills.
Like This Article?
Don't Miss The Next One!
Join over 100,000 photographers of all experience levels who receive our free photography tips and articles to stay current:


I mean all the step is better for learning.
Hi Sergey,
Setting up a Photo Studio – (Small Room, its tiny) was a Storage Rm. – 6-7 X 15
Q- will making the entire room black add to my strobe lite results. Other than paint are there any Fabrics you can recommend which can be set and then removed as things progress in using this new space.
Thanks. Good stuff. Would like to hear from you always. Just setting a studio.
regards,
Tendai Moyo