Gone are the days when you have to head to your nearest photo processing booth or picture kiosk to have your photos taken or developed. With the rapid advancement of digital photography and the wide availability of printers, it’s now all too easy to print your photos at home. Many people would also rather share their images online than have them printed and framed. In fact, it now takes a lot of interest and a bit of searching to find a photo developing shop near your area.
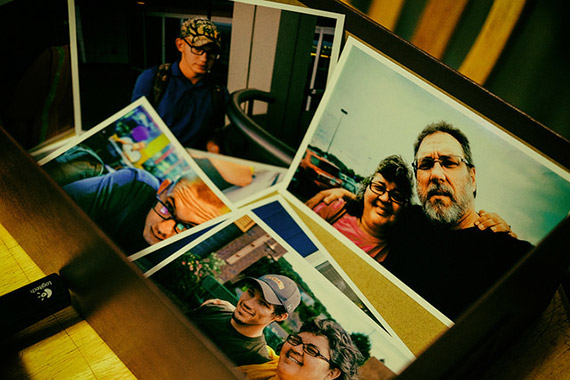
photo by rpavich
You can’t deny that there is still a big gap between the quality of prints produced at home and those processed by photo developing shops. However, there are steps you can take to improve the quality of your DIY photo prints.
1. Realistic prints begin with great images
Dots per inch—or dpi—is a very important concept when it comes to printing digital images. It refers to the number of dots that can be placed within the span of one inch. Printers typically print at 150 or 300 dpi, while most monitors are set to have an output resolution of only 72 dpi. The differences between these numbers are quite visible: a 4×6-inch image only needs 288×432 pixels to look good on the monitor, but the same image will not translate into a high-quality 4×6-inch print.
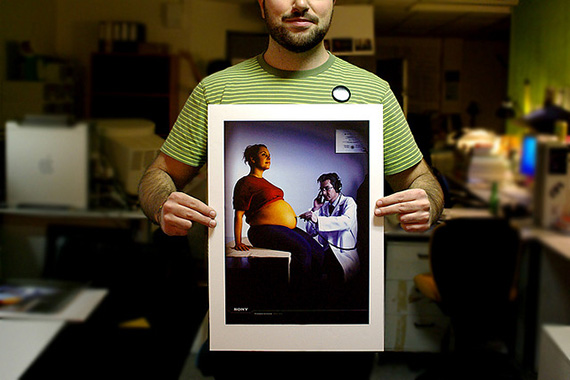
photo by Matteo Mastronardi
Having a digital image with low dpi will force you to either keep your image’s original size or reduce it to maintain the image quality. Let’s say you have a 300 dpi printer, 150 dpi screen resolution, and a 4×6-inch image. You can either have a pixelated 4×6-inch print, or a standard quality 2×3-inch print. To do away with compromises, make sure that your source image is at least 300 dpi before printing.
2. Even cheap printers can produce great photo prints
Printers that can produce photorealistic prints need not be expensive. The quality of prints produced by inkjet printers today can and do come close to those processed by dedicated photo printers in specialty stores. All it usually takes is becoming familiar with the printer driver and any available editing options the unit may have. You can even maximize your savings and still enjoy high-quality prints by using remanufactured ink cartridges instead of original printer supplies. If you can, find a third-party ink and toner supplier that promises 100 percent satisfaction.
3. Use paper that matches the quality and purpose of photorealistic prints
Last but not the least, you must have high-quality paper that is worthy of your photorealistic prints. Experiment with different types of paper to see which works best for your printer and which suits the purpose of your prints. Heavy paper, for example, has an air of exclusivity and elegance that works well with brochures for luxury items and invitations to classy events.

photo by TAKA@P.P.R.S
You can go with matte photo paper for large images you may want to frame or glossy photo paper for more casual prints. Also, remember to always set your printer to match the dimensions of the paper that you’re using.
About the Author:
John Newman is one of the writers at Carrot Ink with a background in business and technology journalism as well as public relations. In his spare time, he enjoys surfing and traveling the world.
Like This Article?
Don't Miss The Next One!
Join over 100,000 photographers of all experience levels who receive our free photography tips and articles to stay current:


Leave a Reply