Picture this. You’re walking outside with your camera when you see this absolutely beautiful scene. You’re thinking about how nice this picture will look on your wall and how you just have to photograph it. There’s only one thing standing in your way: the scene has a lot of contrast, and there isn’t a fast way to get everything lighted properly. Do you light the sky properly or the ground/shadows? If you knew how to make HDR images, you wouldn’t have to choose.
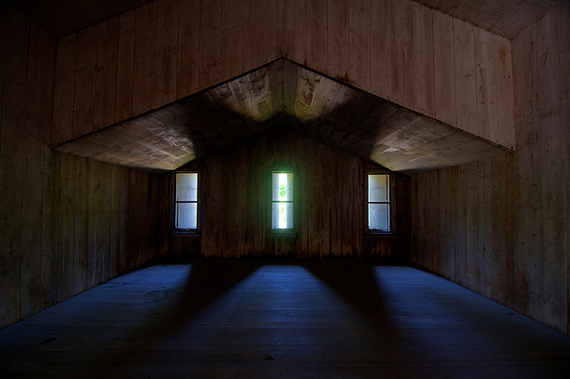
photo by Eric Kilby
A high dynamic range image is an image that has a greater dynamic range of luminance and it allows you to portray a greater amount of contrast in one image. Unlike the human eye, a camera can’t capture that great a difference of contrast in one moment. To create a HDR you are going to merge three to five different images to create a single HDR.
What you will need:
- A camera that enables you to change the settings manually, preferably a camera that can be set to capture bracketed photos automatically. It doesn’t have to be a reflex camera; any camera will do, but you have to be able to change the settings.
- A tripod. This allows you to take a couple of different photographs without messing up your frame or shot.
- Photo editing software.
Next you’re going to learn how to make HDR images. Here are the very basic steps to capture a 5 shot HDR image.
- Choose a subject you want to photograph and set up the tripod and focus in with your camera. The next thing you want to do is change your exposure settings. Underexpose by four stops.
- Once you have your first photograph you are going to want to do the same but this time you’re going to underexpose 2 stops.
- The third step is to take a regular photograph, meaning you’re not going to under -or overexpose.
- Step four is to do the same thing as steps one and two but this time you are going to overexpose two and four stops. This will give you a total of five images varying in brightness.
- Load all the images into your photo editing software and put all the different photographs together. This step depends on which photo editing tool you are using. There are plenty of tutorials out there that explain how to merge them together.
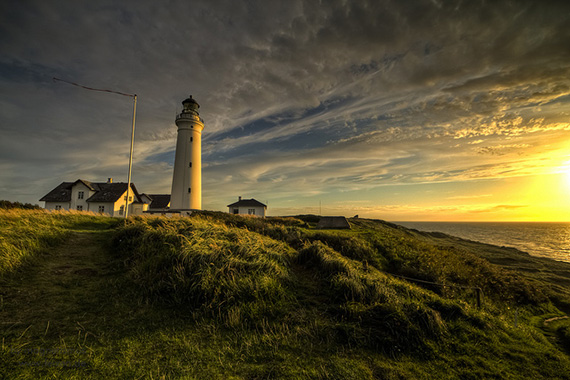
photo by magnetismus
This topic can get significantly more complicated with various techniques, but this has been a very basic overview to get you started. Hope it helps!
About the Author:
Robin Lipton is a photography enthusiast who blogs about all things photography.
Like This Article?
Don't Miss The Next One!
Join over 100,000 photographers of all experience levels who receive our free photography tips and articles to stay current:


Wow, so many mistakes here. First you don’t ever want to change your aperture to get different exposure levels. You will get from darker to lighter, but the perspective of the shot will change and it will be really hard to match them up post processing.
Though GIMP is free, it has a very steep learning curve. Give yourself a couple or weeks to learn it. It’s probably harder than Photoshop.
On many cameras, you don’t have to put your camera into a manual mode as the author repeated a couple of times. Most recent cameras have an HDR or Bracketing button. You can leave your camera in Auto mode so it will select the best setting, engage the HDR and hold down the shutter.
Tripods should be used whenever possible, not only for HDR. But you can shoot HDR successfully handheld if you try really hard to remain steady. Most HDR programs can match up the pixels just fine.
Not a well researched article. Or, the author doesn’t have very much experience with cameras.
I was suggested this web site by my cousin.
I’m not sure whether this post is written by him as nobody else know such detailed about my trouble. You are wonderful! Thanks!
Luminance HDR is a great free alternative HDR/Tonemapping software : http://qtpfsgui.sourceforge.net/