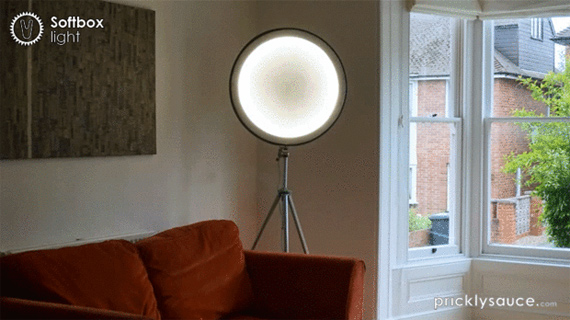
If you like DIY projects and enjoy repurposing stuff, you might want to check out this softbox design from Rob Thomas of pricklysauce. It’s a bit more involved than many other DIY softboxes out there, but the end result is sleek and trim and can be used both as a studio light and as a living room accent light. Here’s how:
Unlike most softboxes, Thomas’s design is both circular and thin, and it takes up very little space. It does, however, take some of expertise with a soldering gun and a sewing machine.
Materials Needed
- 26″ road bike wheel rim (and tire)
- 30″ x 30″ stretchy white lycra (make sure it stretches in both directions!)
- stretch needles for sewing stretchy materials
- white thread
- 52″ elastic cord
- 2 pieces of type A1 mounting card (one white, one black)
- spray mount glue
- strip of LED lights + transformer (natural light, 4500k, 12v)
- tin foil
- solder
- sash window security bolt+ bolt to fit thread or alternatively use a tripod mount screw
- Evo Stick Strong Stuff adhesive
- tripod
Tools Needed
- hacksaw
- sewing machine
- soldering iron
- knife
- scissors
- drill
- marker
- glue gun
Instructions for Bicycle Wheel Soft Box
- Mark out the wheel rim on the A2 card and cut out the circle. (Do this on both the white and the black mounting card pieces.)
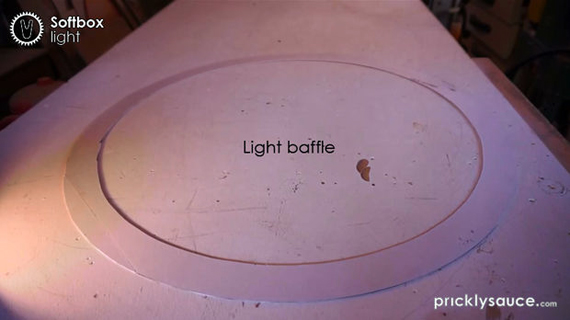
- Mark another line set in about 1.5 inches and cut it out. This will cover the wheel rim and LED strip lights and act as a baffle so that the lights don’t show through the material.
- Remove the inner tube from the wheel.
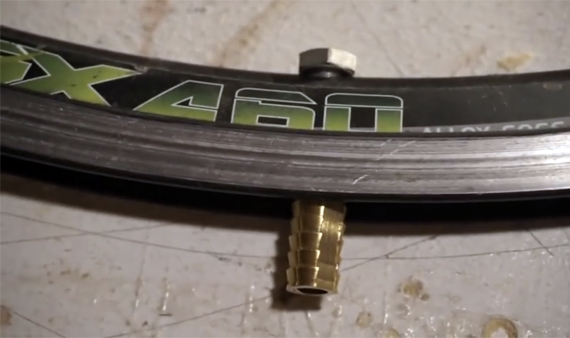
- Insert a 1/4-2OUNC (camera attachment) bolt through the valve hole. Screw on a long, threaded bolt (i.e. sash window security bolt).
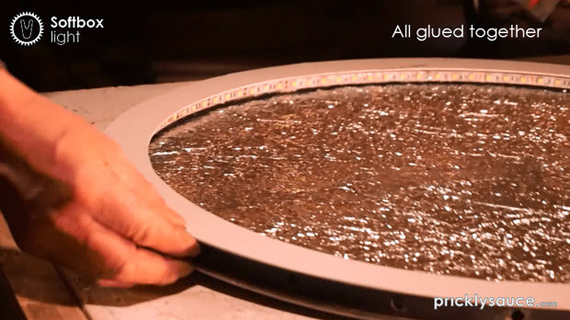
- Peel off the backing tape of the LED strip and stick it to the inside of the rim. Make sure to position the wires to come out through a spoke hole near the bolt and then thread them through.
- Cut the LED strip to fit in a complete circle of light at a place in the strip marked with scissors (usually every third LED).
- Tear off some foil, scrunch it up, then fold it back out, and cut it to fit the backboard. Use the spray mount glue to attach the foil to the backboard and trim off the excess foil with a knife.
- Run glue mastic along the wheel rim. Stick on the light baffle. On the other side, glue on the reflective circle.
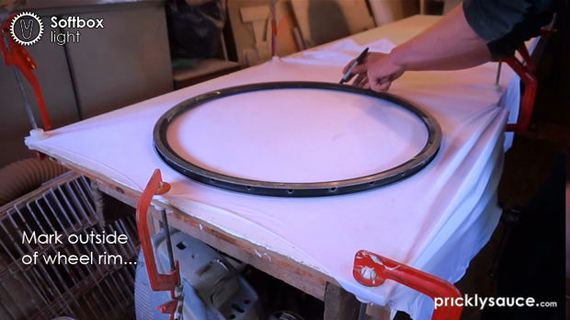
- Now it’s time to put the diffuser on. Cut out a circle of lycra that’s slightly smaller than the wheel rim. To do so, pull the fabric slightly taut on a table and clamp it down. Mark the outside of the wheel rim on the fabric and then cut it out with a sharp knife.
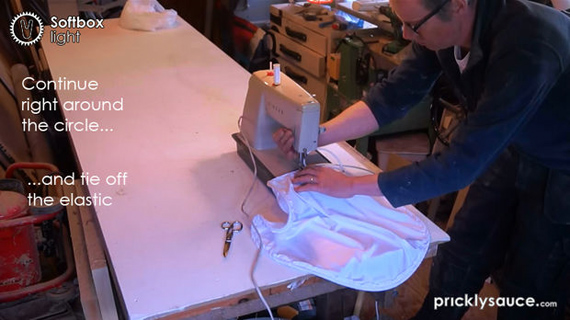
- Now comes the fun part: sewing the fabric. Set up a sewing machine and start a 6 inch hem a couple of inches long for the elastic. Poke the elastic through the hem and continue sewing, using the elastic as a guide. Continue around the circle and tie off the elastic and trim the ends when you come full circle. (You can actually sew this by hand, but it’s much quicker with a sewing machine.)
- (Optional) If you want the unit to look nice, you’ll want to avoid having a long black transformer cable trailing down to the floor. Thomas solders on a thinner wire (suitable for 12v) to the LED light connectors and then covers the junction with with electrical tape or electrical shrink wrap. But if you don’t mind the black cord, you can skip this part.
- Stretch the lycra over the side of the wheel with the baffle.
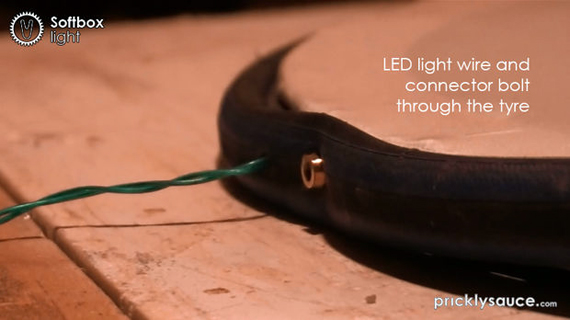
- Cut two holes in the bicycle tire: one for the wire and one for the bolt. You can do this with a drill or with a punch. Thread the LED wire through its hole and then fit the tire to the rim.
- Attach the light to a tripod, switch on, and voila! A beautiful new accent light with a diffuser, perfect for adding fill light.
What do you think? Will you try making one yourself?
Like This Article?
Don't Miss The Next One!
Join over 100,000 photographers of all experience levels who receive our free photography tips and articles to stay current:


Leave a Reply