Have you ever wondered how photographers were able to capture a water splash, bursting balloon, or a bullet hitting a fruit?

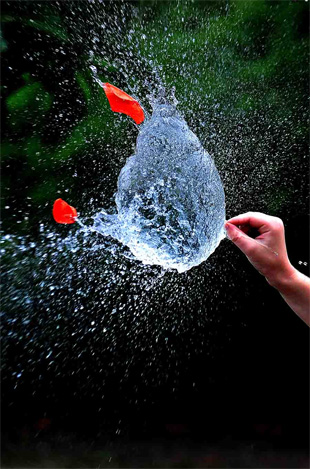
“POP!” by PictureSocial member Louann Waters
The goal of the high speed photography is capturing objects in motion. You can photograph events that follow a predictable sequence. In all cases you want to be able to detect a trigger, wait for an event, and take a picture.
For example, in order to capture a falling drop hitting the surface of water, first you need to detect the time when the drop starts falling. Next, you create a delay between the trigger and the event. Finally you take the picture.
There are two methods for performing high speed photography with the timer. The first method uses a fast shutter speed. The second method uses an electronic flash.
Shutter Method
The main advantage of the shutter method is that it can be used outdoors. The subject and the background can be fully illuminated. Since the shutter is used to freeze the motion of the subject, it offers a limited speed. Maximum speed of a shutter could range from 1/4000 second to 1/8000 second, in some cases it may not be fast enough (fast moving objects will become blurred).
Moreover, in cameras that have a focal plane shutter, a small slit moves across the photographic plane at much slower speeds (1/250 second), thus exposing different parts of the photographic plane at slightly different times.
Finally, there is a delay between the shutter release and the actual exposure. It could be as much 100ms or more (depending on camera). In addition there could be a small variation in timing, each time the camera takes a picture. Therefore this method should not be used when high timing accuracy is required.
Flash Method
The second method of high speed photography is the flash method. The picture is taken by opening the shutter of the camera, activating the flash, and closing the shutter. The picture needs to be taken in a dark room. Because the room is dark, the long exposure time will not have any effect on the final output. The flash light duration now becomes the actual exposure time.

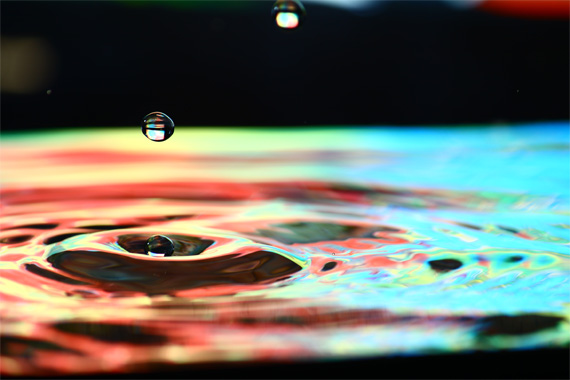
Photo captured by PictureSocial member dan2452
The main advantage of the flash method is the exposure speed and better timing consistency. Electronic flashes are capable of light strobes with durations of 1/10,000 second or faster (lower the power setting of the flash, the shorter the flash duration).
The lag between the trigger and the flash strobe is insignificant. The disadvantage of this method is that the picture needs to be taken in a dark room to avoid the over exposure. Also since the flash is used to make the exposure, it may be more difficult to provide a uniform lighting or to illuminate the background.
Equipment
You will require three basic components for high speed photography:
- Camera
- Flash
- Photographic timer with sensors

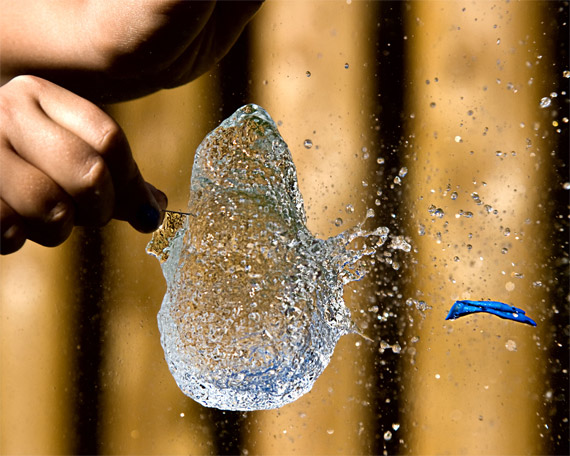
“Water balloon pop” by PictureSocial member chris p
About the Author:
Vito is an amateur photographer with particular interest in high speed photography. Universal Photo Timer is one of the general purpose photographic timers. Universal Photo Timer can activate camera shutter or flash in response to a trigger with a set delay. The timer interfaces to a number of optical and sound sensors making high speed photography ever more popular.
Like This Article?
Don't Miss The Next One!
Join over 100,000 photographers of all experience levels who receive our free photography tips and articles to stay current:


Hi kartik, reduce your shutter speed.its the flash that will freeze the motion.Check your camera for max sync speed.You can try as low as 1/5 sec.as you shoot in the dark,nothing will be recorded except when the flash goes off..1/32 of flash is good enuff if you want just a bit extra light or increase the iso.
Hi,
I’m not sure where I’m going wrong…
My Speedlight (Nikon SB-600) can go only as low as 1/64… however, even if that’s the minimum power I set it at, my aperture is set at f/16 (for greater DoF) and I set the Shutter at about 1/160 sec… ISO to a 100.
The image turned out extremely dark… the subject is hardly visible! As far as my understanding goes, no matter what power you set the flashgun’s intensity to, it’s the Aperture that would control the brightness / darkness of the subject in a particular scene. Also, the scene must be captured in a dark environment. My question is – How do I brighten the image when I need the Power of the flashgun to be as low as possible while the aperture to be set at about f/14 or f/16 for a greater DoF?
@Frederik Skjödt: There are some data on the burntime available on the net. The short answer is that the more powerful flash you have the better. On my site I have listed the burntimes for a Canon 580 flash. That’s a flash with a guidenumber of 58 – so going for a 1/32 or 1/64 power will still give you a lot of light.
Good luck, this is fun stuff :)
/Jon
Hi im new to all this flash and i have a question about the speed.
im looking at the neewer tt560 and it says that the power can be 1/64 but how fast would that be in seconds and would it be able to take those photos. but it also says : Flash Duration :1/800s~1/2000s
but also that the power control 1/128,1/64,1/32,1/16,1/8,1/4,1/2,1/1.
how much can you then freeze motion?
(sorry for the english, im from denmark)
thanks
The tutorial video is nice! Amazing what you can do with water and a camera :)