Photographing glass objects can be a challenge that frustrates the most experienced photographers. It reflects everything. It will give the most undesirable catch lights. And it can at times be almost impossible to get focused properly.
A quick look at web-sites that cater to home craft vendors will reveal that only the best photographers have learned how to control the nuances of the glass object. So let’s take a quick look at how we can improve our capabilities when it comes to glass.
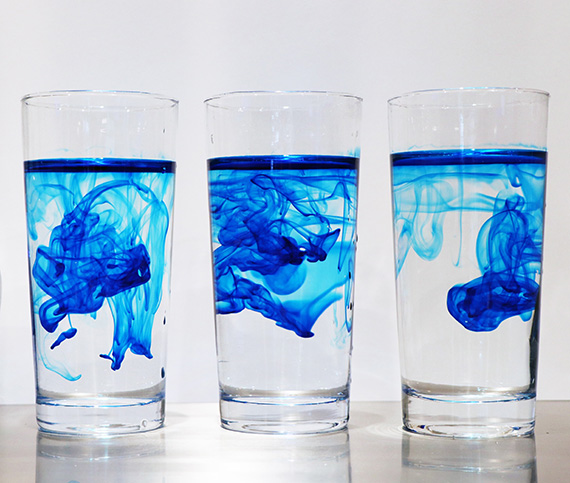
Photo by Chaozzy Lin
Once we have come to truly understand how reflective glass is (usually after a couple of hours of trying to get a good photograph) we may come to the conclusion that it is something we are going to have to learn to live with.
But what about all those beautiful advertisements of crystal with absolutely no reflections and a catch light perfectly placed. They must have done it in the computer – they surely could not have taken the picture that way. Well there are ways to make that photograph in camera and one of the first rules to understand is you want a lot of black colored material around your set.
When you look at a high quality photograph of a glass object you will notice that the extreme left and right sides of the object are black. That is from the black corkboards set up just out of camera view on both sides of the object. The glass is reflecting the black but since it is black the picture is much more desirable. Additionally, the black color stops a lot of the back and forth repetitive reflection that other colors would not. In my studio, the walls are white and removing the black corkboards instantaneously results in a disastrous capture.
When lighting a glass object there are two primary places I light from; directly behind the object and directly above. When I have the object placed between the camera and the light source, with black corkboards on both sides, and a black curtain around the set it is very difficult to get a single sign of reflection in the object. The edges of the object are a rich black and the whole rendering looks very pleasing. I have had clients look at these pictures and immediately want a glass of wine – the desired effect.
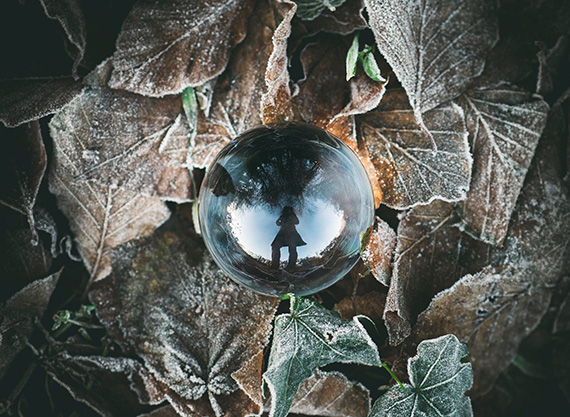
Photo by Jamie Street
When lighting from directly above I usually want a controlled catch light on the object. Using the modeling light on my studio strobe gets me in the neighborhood. Then it is a matter of shooting and moving the object slightly and repeating until I get the right effect.
In both of the above examples I can have liquids in the glass or pitcher but I find I am limited to water with a small amount of food coloring. Both of these lighting set ups require the liquid to be very translucent (near transparent). Getting the liquid into the container without splashing is a challenge. I use a funnel with a short tube and keep the bottom of the tube at the bottom of the container until I have filled to the desired level. I then use a paper towel to wipe the tube as I am extracting it to minimize dripping.
But what about objects filled with a near opaque liquid such as a bottle of red wine? One of my favorite wine shots is when I place a softbox on the studio strobe and then put a piece of black tape horizontally and vertically on the face of the softbox and the reflection in the bottle changes from studio lighting to a window. Once again, I have to surround the set with black material to keep the light from bouncing back and forth all over the place.
I only use manual focus when photographing glass as the auto focus system can be easily confused. I always check my dioptic setting on my viewfinder first with a solid object to make sure it is set right. I check my focus before every shot as I am normally using a very shallow depth-of-field.

Photo by Roberto Lopez
My goal with this article was to give you some confidence when photographing glass objects. I’m sure a little experimentation with the above techniques will do exactly that. I would be very excited to hear what you think.
About the Author:
Doug Loman (douglomanphotography.com). “I have been fascinated with Photography since my mid teens. These frozen moments in time have always given me a satisfaction that I do not get anywhere else in life. And that others enjoy these captured moments is absolutely incredible to me.”
Like This Article?
Don't Miss The Next One!
Join over 100,000 photographers of all experience levels who receive our free photography tips and articles to stay current:


Sorry to say, not of much use without setup photos along with the results.
Photo setups for these crappy shots?…
Second the above
Would love to see photos of the setups.