Many of you photographers have probably stared at a silhouette photo and wondered to yourself how exactly they were taken. Silhouettes could contain a couple’s moment on the beach, a person staring out at a landscape, or an amazing cityscape with the sun going down in the background. Silhouette photographers must have great timing and perfect exposure settings.
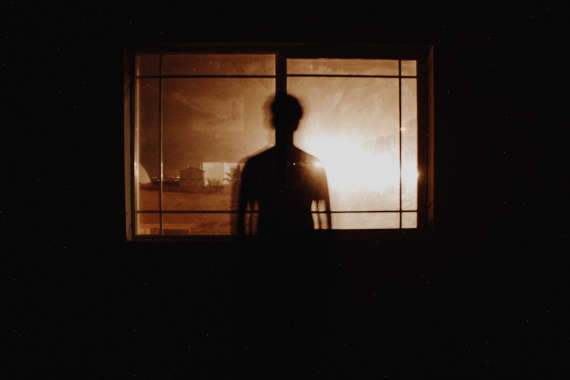
Photo by Isai Ramos/Unsplash
What is a Silhouette?
In photography, a silhouette is defined as an outline that appears dark against a light background. More specifically, it is where your subject is seen as a black shape without detail against a brighter background. This is an artistic outcome that many photographers like to perfect. This effect can be achieved with any kind of bright light source, but of course the most commonly used is the sun around sunrise or sunset. The backlighting from the sun shadows everything towards you and produces this effect.
Silhouette Techniques
When you are getting ready to take your silhouette pictures, there are a couple things to keep in mind. These tips work for both digital and film photography. Make sure you never point the lens directly at the sun. If there is too much light, the light will fall on your object. If there is not enough light, your background will become gray. The main key to silhouette lighting is having your background lighter than your object, but this can be done in more ways then one. Many photographers focus on a certain time of day, where their subject is, what kind of weather there is, and where the sun positioned in the frame.

Photo by Keisuke Higashio/Unsplash
My Silhouette Tips and Methods
I choose to take my silhouette photos when the sun is right above the horizon, usually at sunset. I prefer this time because the sun causes the sky to be at it’s brightest for a greater contrast between your object and the sky. Try aiming at your object with the sun directly behind it for a glow around your silhouette. Also, if the sky is too bright and your object is small, it is possible to underexpose your silhouetted image.
I always use a narrow aperture (high f/stop) so the camera captures the whole scene in focus. It is also convenient to use this method so you can use your camera’s automatic exposure settings focused on the lighted background. If you use a point-and-shoot camera focused on the subject meant to be dark, the camera will probably try to compensate for the lack of light on the subject and overexpose the background. So when you have your camera set on automatic exposure, be sure to focus on the light in the background.
Remember that there isn’t an exact science to taking a great silhouette. It takes practice, experimentation, and maybe even a little luck to capture a truly spectacular silhouette photo.
Like This Article?
Don't Miss The Next One!
Join over 100,000 photographers of all experience levels who receive our free photography tips and articles to stay current:


Leave a Reply