Rembrandt lighting was named after of the great master, who often used it in his own portraits. The idea is to create a small inverted triangle of light on the subject’s cheek that is opposite the light source. This is very flattering (especially for people with prominent cheekbone structure) and was often used in old Hollywood portraits. It is important to ensure that you get catch lights in both eyes.
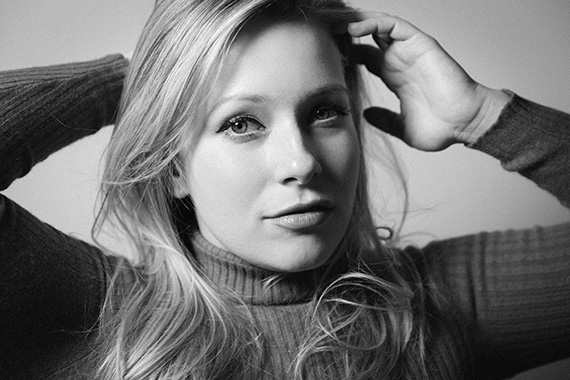
Photo by dawolf/Flickr Creative Commons
What subjects does it work for?
This technique works well for subjects will full or round faces (because it adds definition and slims the face), but it’s generally not a good choice for narrow faces. Some ‘old school’ photographers refer to Rembrandt lighting as ‘masculine’ and some really old school portrait photographers will insist that a woman should never be lit with Rembrandt lighting. Since Rembrandt himself painted women using basic Rembrandt lighting, you can safely assume that this ‘rule’ is a guideline at best.
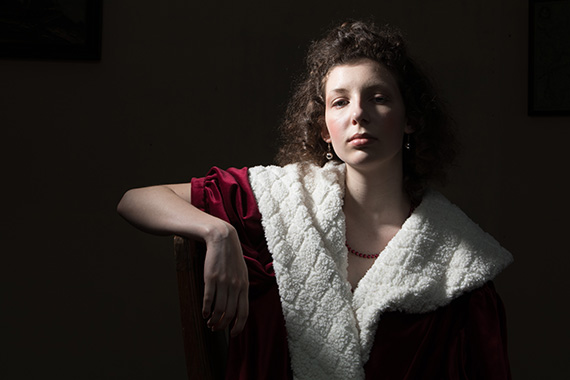
Photo by Peter Hessels/Flickr Creative Commons
Where does it fit in with other techniques?
This is one of the five basic lighting setups used in studio portrait photography; the others being Broad, Short, Split Portrait and Butterfly. There are two things that make up Rembrandt lighting: a light on one half the subject’s face and a triangle of light on the shadowed side of the face. Technically, the triangle shadow should be no wider than the eye and no longer than the nose. The thing that distinguishes Rembrandt lighting from simple short lighting is the triangle of light.
This method can be considered simply a variation of short lighting. When the lighting is such that the shadow of the nose reaches the shadow side of the face and forms a triangle on the short side of the face, it is referred to as Rembrandt lighting.
Setup
At its most basic level, this lighting method is constructed with a single light source placed approximately 45 degrees offset from the subject and a bit higher than eye level, lighting the side of the face that is farthest from the camera. This single light source is often supplemented with a reflector or a second light placed approximately 45 degrees to the shadowed side of the face and set at ½ the power of the main light source (called the key light). This is used to lift the shadows on the darker side of the face.
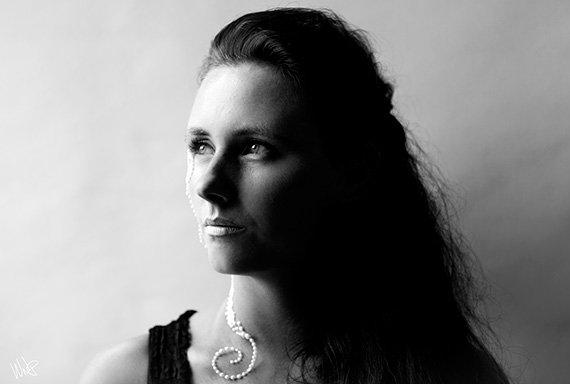
Photo by Wendy Nelson/Flickr Creative Commons
Conclusion
Rembrandt lighting is a simple, effective lighting setup that is flattering to a wide variety of subjects and is easy to master quickly. It’s possible to achieve using a single diffused flash unit and homemade reflector.
About the Author:
Chas Demain writes for CreativeSlrPhotography, a digital photography site.
Like This Article?
Don't Miss The Next One!
Join over 100,000 photographers of all experience levels who receive our free photography tips and articles to stay current:


I love this guide. It’s a great intro to lighting techniques and I often share it when questions come up about lighting styles in my photography groups.