Parks are one of the major places where a photographer can find many interesting subjects and challenges. But many of us shoot in parks in the same way we shoot in a birthday party. Here’s some of my personal tips that I have learned from jobs and experience that will dramatically improve the results of your park photos.
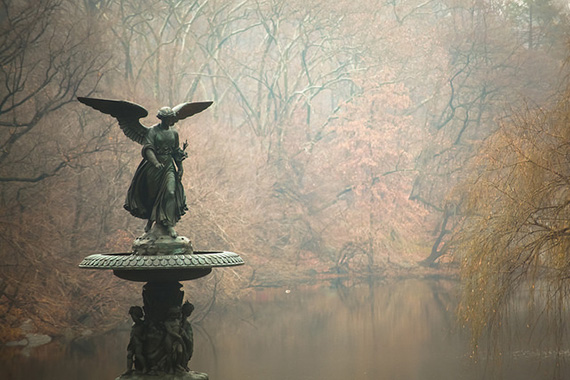
photo by Bradley Weber
Searching for a Subject
Parks are green. Well, most them are. So the first thing to search for is a non-green contrasting color object. Something that stands out. It can be someone walking their dog, or a tree/bush with unusual color or even an empty chair or structure in the park.
If you don’t find anything different than the usual green, try to find a shape that gives you a sense of vastness. To capture such a scene, you will need a wide angle lens (18–24mm) and use the wider side of it as much as you can.
Another creative way will be to get a different angle of the same object. Try lying down beneath the trees and taking a shot straight up. Or lower your camera to ankle level to capture the leaves that have fallen on the pathways with a background of the whole park. Try vertical where your natural instinct says go horizontal.
If the park has any water body it will open a whole lot of new possibilities, which I will discuss in my next article. But for now, let’s skip the optimizations on water reflections and flows.
Shadows of trees can produce interesting effects. This is one of the reasons I shoot ONLY during dawn and dusk. The golden color of the atmosphere creates an awesome effect on the trees and even on many “boring” objects like benches. Most of the photography skills come from looking and searching for patterns, colors, and on-spot happenings (e.g. a dog playing with another dog or his owner). This is the hard part. Once you have found the subject, the remaining technical part is easier.
Note: Do not waste your time taking photos of boring trees, grass, and paths from your usual angle (the angle your eyes see a scene); rather think and spend your time on searching for a subject. Go to a place where no one normally goes. Don’t stop at the bench or overlook. Walk around it. Explore. One position will give you that unusual shot which is different than others. Get the vantage point.
Remember: Color, Shapes, Patterns, Perspective, People, Wildlife.
If a park does not have ANY of the above, go to another park!

photo by Dom Crossley
Check Your Camera and Optional Gadgets
Before starting to shoot the subject, check your camera settings for the following:
- ISO (100 or lower)
- White balance (AWB or Cloudy)
- Metering Mode (If large part is sky, go for Partial, else Evaluative.)
- Timer (This is most irritating part with my camera. It remembers the last timer setting.)
- Focusing mode (One Shot)
- Mode (Aperture Priority)
Optional gadgets include a warm circular polarizer filter. This will bring make more vivid and warm colors together while cutting out any direct reflections from the surface. The complete manual and tips on using a polarizer deserves another article.
Tripod is somewhat optional but required in most cases, read on.
Set Up for the Specific Park and the Specific Conditions
- If you are shooting with wider side of your lens (18–24mm), you can use Aperture as high as f/11–f/22. This to ensure you have everything in focus.
- If you are shooting at f/22, and its dawn or dusk, you will find it very difficult to get proper exposure at hand-holdable shutter speed (which for me is 1/60 of a second at 35–50mm focal length). If you see that the shutter speed is as slow as 1/10 or 1/5, you’ll definitely not be able to take the photo with your camera in your hand without getting a blurred photo due to camera shake. So there’s three ways out of this: try to lower the F-stop from f/22 and see how much you can increase the shutter speed. Try to increase the ISO to 200 or more. Put the camera on a tripod. Even if you have a shutter speed of 1/60 of a second, always use a tripod. That is the secret of my crisp and tack sharp photos even at low light.
Exception: If you’re shooting something in motion (even very slight motion), then you need to increase the shutter speed (unless you need the blurry effect purposefully).

photo by mtch3l
Shoot the Photo (Or a Hell Lot of Photos)
Place the subject (if anything distinct, else skip to the next paragraph) anywhere along the imaginary inner rectangle in the viewfinder whose length and breadth is 1/3 distance inside the outer periphery of the viewfinder. This is called the two-third’s rule. This needs explanation with illustration which I will take up in another article in this series. The bottom line is place the subject vertically at 2/3 distance from top and horizontally at 1/3 from left or right.
Now it’s time to experiment. Believe it or not, I take 15–20 photos at different settings (also called “bracketing”) for a single scene or subject. If the subject is moving, I take photos in continuous shooting mode. This way, there will always be a photo that will give you the level of satisfaction and also help you learn the impact of changing settings on the result. These are the common bracketing variables:
- Shutter Speeds 1/(x-15), 1/x, 1/(x+15)
- Apertures f/5.6, f/11, f/22
- White Balance (Auto, Cloudy, Tungsten – this increases “blue-ness” of the sky)
Try these and you learn more than reading any book or article on photography. I can give you a set of 20 photos and the camera settings for your instant gratification, but that will be doing injustice to you as a learner.
Everything I told you here will cost you time. Yes, you will need to be willing to spend a sufficient amount of time in the field. If there is any pressing deadline or appointment, you will get distracted and the result will be inferior quality and quantity. I can show you the path; you have to walk it. Good luck.
About the Author
Sudipta Shaw is a software professional and a self-made photographer. He also likes to teach and mentor.
Like This Article?
Don't Miss The Next One!
Join over 100,000 photographers of all experience levels who receive our free photography tips and articles to stay current:


Photos 1 and 2…http://digital-photography-school.com/10-steps-every-hdr-photographer-goes-through