Images of night scenes never fail to impress. Night-time images have great ambiance, something which is often absent in flat, bright, daylight photos. Skillful low-light photos can look simply incredible and if you’re looking for ways to make money from photography, selling canvas prints of night scenes is one way to achieve this. They are very popular.

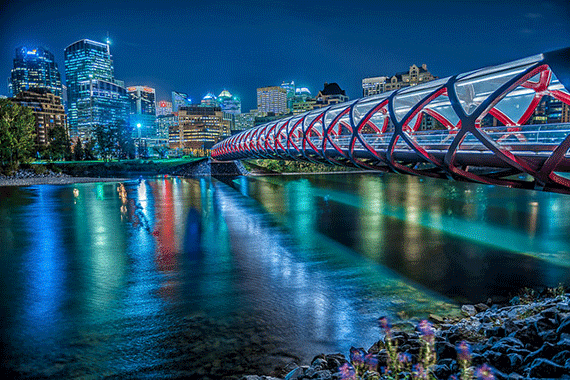
Photo by Ken Lane; ISO 71, f/2.8, 1.5-second exposure.
The main aim of this article is to highlight:
- Night photography settings and techniques
- Good low light cameras on the market
1. Exposure: The basics
Given the amount of available light, there is a “right” exposure, where just enough light is allowed onto the camera’s sensor to make an accurate representation of the scene – i.e. preventing the picture from looking too bright or “blown out” because there was too much light, or at the other end, under-exposing the picture through allowing in insufficient light.
Three camera settings can be altered to control exposure:
- Aperture (or f-stop): Here is an inverse relationship – Low f-stop values mean more light is being let in
- Shutter speed: At slower shutter speeds the sensor is exposed to light for a longer period of time
- ISO / Sensor Sensitivity: At higher ISO settings, the camera’s processor progressively multiplies the recorded light level on the sensor so it can record more light but also leads to a more grainy/noisy photograph.
For any given scene, there can be more than one combination of the above settings that will give you a correct exposure. Your camera’s light meter tells you how to combine them. For instance, if you choose to fix the ISO and aperture, the camera will set the correct shutter speed. Or when you select ISO and shutter speed values, the aperture will be set accordingly.
If you set the camera to “auto” all 3 of these variables are set by the camera. Good night photos, however, require that we do more than shoot on “auto”

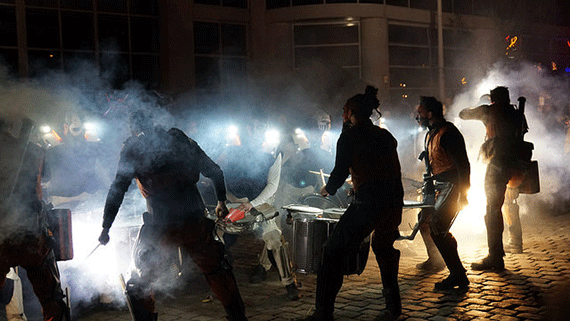
Photo by Miguel Discart; ISO 3200, f/4.5, 1/160-second exposure.
2. Night photography settings
Note: The one night shooting option omitted here is using a flash – but this is a completely different kind of concept for a “night scene” and I’ll deal with flash photography on its own in a later article.
a. Shoot “wide open” with a fast lens
This is a good option for street photographers who want to capture low-light (but perhaps not night-time) street photos.
Use a good lens which can go down to f/2.8 or even f/1.4 – i.e. a lens that can let in a lot of light! This will give you a nice shallow depth of field which adds dimension to your photos, whilst allowing you to shoot at decent shutter speeds (around 1/60th of a second). At slower shutter speeds you’ll most likely get blurry images unless you use a tripod.
This is an essential technique if you have an older camera that only delivers good quality at low ISO settings. Still, even when you have a good high-ISO camera you may want to exploit the nice shallow depth of focus brought about by shooting at a lower ISO and wide-open aperture
b. Use a tripod and expose for longer
This is ideal if you want to capture a night scene of a cityscape, for instance, where your subject isn’t moving, so you have time to set things up.
Ensure a wider depth of field by choosing a medium aperture such as f/8, fix the camera to your tripod and leave the shutter speed selection to the camera. Depending on the light in the scene it could be one second, several seconds or, for seriously low ISO settings, even several minutes.
Top tip: The best time to take photos of cityscapes is just after sunset, when there is still a little bit of ambient blue in the sky. If you’re using in-camera metering, point the lens at the sky to determine the correct exposure – you’ll be delighted by the good exposure you get in the end.
c. High ISO photos
This is especially useful (and sometimes unavoidable) if you’re taking photos at an indoors or night-time event where flash photography isn’t allowed, or perhaps you don’t want to use a flash because it will disturb your subject and ruin the photo.
You can force the camera to be more light-sensitive by increasing the ISO. This opens up the possibility of getting sharp photos in dark circumstances without having to use a flash or tripod. Why? You’ll be able to shoot at faster shutter speeds, which helps keep the images sharp..

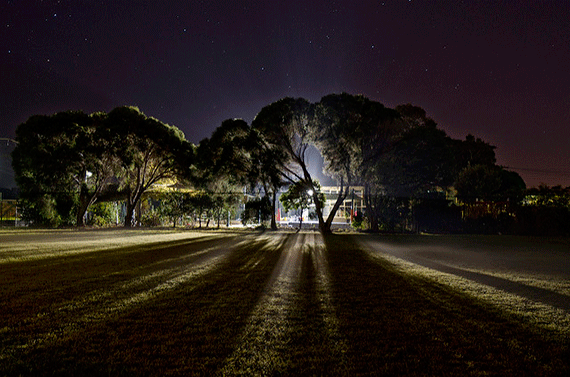
Photo by Bill Lane; ISO 100, f/4.0, 20-second exposure.
Take note: There’s no such thing as a free lunch. Increasing the ISO means that you are more likely to get a noisy / grainy photo.
3. Which cameras perform well in low light conditions?
Certain cameras give you more low-light flexibility because they perform well at high ISO settings – leaving you full creative control over which of the three above options you choose to make your photos.
Because DLSR and Mirrorless cameras tend to have bigger sensors, they generally take better high-ISO photos than compact cameras or smartphones with relatively small sensors (it’s a bit technical, but it’s based on the laws of physics and electronics).
About the Author:
Article written by Matthew Foster from top10digitalcamerashq.
Like This Article?
Don't Miss The Next One!
Join over 100,000 photographers of all experience levels who receive our free photography tips and articles to stay current:


I found this article to be a bit disappointing and to contain broad generalisations some of which are not correct.
For example in the article it says: “The latest DSLR cameras have full-frame sensors achieving superb high-ISO performance.” The truth is that many of the latest DSLRs have APS-C sensors.
How well does this work for sports photography? Low light high school football fields and high schools gyms with cycling lights are a beast.
Not all of the latest DSLRs have full-frame sensors. Only the higher end ones do.
and remember “Break the Rules” I had finished up a shoot, the client was locking up the property shutting down lights. I saw a flicker of light and suddenly realized fireflies were around.
Nothing but my camera was unpacked, bad habit!
But I grabbed it and ISO 25600, f/3.2, 28mm, 1.3 sec shutter, I went hunting fro fireflies.
I got one and the client saw that yes, his property would be fun & beautiful with stars in the skies, it had been cloudy all evening.
At one point three seconds I knew the shot would not be prefect, but a shot of the client’s private church reflecting on his pond sold him. I can shoot that slow because of practice. Decades of practice. Even in the film days, I would do night shots and some times I would not have a tripod with me.
I was hoping to put the frame up but not photo up load. Maybe PictureCorrect will be interested in showing it sometime. It is on my website along with the reflection pond shot of the church and other Night Mexican Architectural landscape shots.
It’s very useful information also explain simply abiut photography.
The only question I have is what is best white balance for shooting buildings in a city in those 10 minutes of great light
Is this correct :
Take the night shot lightly overexposed instead of under exposed, so you make it possible tho adjust the exposer in Lightroom (making it darker). It will reduce the amount of noise.
(Nikon D90 user)
This is a decent but very basic article on low-light photography – however what it covers doesn’t really dig into the special aspects of this type of work. What about noise cancellation techniques such as in-camera noise reduction and image stacking in Photoshop? How about creating star burst “effects” in camera by stopping down to f/16 or f/22 to capture all the point light sources glaring off the lenses internal aperure blades (as in this 15-sec ISO 100 image http://www.rakoczyphoto.com/commercial/architecture/5-00098/ ). Light painting is another good subject for specialty low-light photography. How about a discussion of star trails and fireworks (http://www.rakoczyphoto.com/commercial/architecture/5-15266/ ) or most of all, the vastly different color balance you encounter with mixed artificial light sources?
Good interesting article and I love the shot at the very top of the image. I’ve got to say I’d personally do the complete opposite to the suggested settings here. That’s not to say the guide is wrong in my opine
Ion it’s just a different effect and way of doing things.
Like the poster above I stop down to a low iso to reduce noise and give me far more flexibility in editing and means better quality of noise in the shadows and dark areas. I always use a tripod and move that f stop above f11 I try to get as high as I can with the f stop I’m always on manual ( though I’m always on manual no matter what I shoot) I find there’s a medic ten minutes of light shoot your final image too early there’s too much light in the clouds, shoot too late and you lose a lot of atmosphere so either ten minutes as the sun is going down or coming up.
I do a few different exposures before and during those magic ten minutes, because the light is always changing this makes things really interesting and the challenge and seeing how the light changes is fantastic and a great fun challenge and learning process you can apply to other disciplines of photography.
If any of the foreground is too dark I dip a bit of off camera flash in to balance the whole shot done in the right way out of frame this can give the impression of a street light for example.
When taking the shot I use a timer as I’ll be doing exposures of 5-30 seconds depending on the subject, so I have to be careful that I’m not somewhere that the floor might vibrate – for example a bridge with big trucks passing over. With regards to this it’s always helpful not to shoot during a heavy gust of wind or you’ll get blur on any trees in shot.
Of course all this is pointless if you haven’t composed the image properly. I try to ‘balance’ the image I really believe every scene has it’s magic point it can take some time to find but moving a few meters each way can completely change the feel and balance of an image.
I don’t think low light cameras are really that nessisary what’s better is to invest in better glass I could get a far better image from my fuji s5 which cost me £150 with my nikon lens with top glass, than my nikon d3s with a sigma or tamron – not that’s there is anything wrong with these brands but putting your money into lens honestly makes such a difference.
Well I hope this helps give a different view on the article. As I said at the start, it’s a good article and very interesting but there’s more than one ‘right’ way to do things.
Thanks Matthew for this post. It is what I was looking for recently:) I’m going to focus more on long exposure and never it is too much to learn about it.
Greetings,
Danka
I really commend this site for making difficult subjects and/or techniques accessible for a broad audience. However, I would caution the authors to simplify explanations to the point where misleading or even incorrect information is propagated.
The problem in this article is how ISO settings work to allow shadow details to be captured in low-light situations. The “Basics” explanation, ‘At higher ISO settings the sensor is more sensitive to light,’ is completely incorrect. The sensor has one ‘native’ level of light sensitivity that does not change irregardless of the ISO setting. What does happen is the camera’s processor progressively multiplies the recorded light level of each sensor element as the ISO is changed higher.
The result is the same, shadow details become progressively lighter (as does the rest of the image) as the ISO is increased. The problem with multiplying the sensor’s native sensitivity is described in part 2.c. of the article: you often get a more noisy/grainy picture. The reason for this goes back to the camera processor multiplying the native recording of light for each sensor element. At very low recorded values, the RGB value for the sensor element may be pretty far from the ‘correct’ color value, and when the processor multiplies that color value to an intensity well above the general shadow darks, the color can be quite different from its neighbor pixel elements, giving you ‘noise’ or ‘grain’.
@Dave Poindexter – AWESOME explanation.