The art of retouching is as old as photography itself. And like any art, it can take a fair amount of skill, dedication, and time investment to learn to do well. From learning the nuts and bolts of complex programs like Photoshop and Lightroom, to developing an eye for what needs to be done and when, learning from the pros can be a big help. Luckily, there are some great pros to learn from out. The video below, put together by professional photographer and retoucher Glyn Dewis, has a number of nuggets for beginners and pros alike:
Although many people often use “retouching” and “editing” interchangeably, most photographers would agree that photo retouching is far more involved that editing. Generally, retouching includes actions like adding things to the image (e.g. texture in a background), taking away something (e.g. blemishes on the skin), dodging and burning, and other similarly advanced alterations. The goal is to bring out your image’s full potential without making it look fake or blown out.
Lightroom Workflow
Dewis begins his retouch journey in Lightroom, where he starts with adjusting the white balance and moves through cropping, adjusting the shadows and exposure, and applying lens corrections. While the order of Dewis’ Lightroom workflow probably differs from most other pros (for example, many pros would say to sharpen your image only after all other adjustments have been made), he has some great Lightroom tips. My favorite is holding down the opt (alt) key while moving the masking slider to the right to limit your sharpening just to the desird areas.
Photoshop Workflow
Dewis’ Photoshop workflow is where much of the real magic happens. He begins with the healing brush—something that’s a bit more unwieldy in Lightroom—and then he moves on to what he calls amazing eyes: lightening up the irises and sharpening the eyes in a way that makes them really shine.

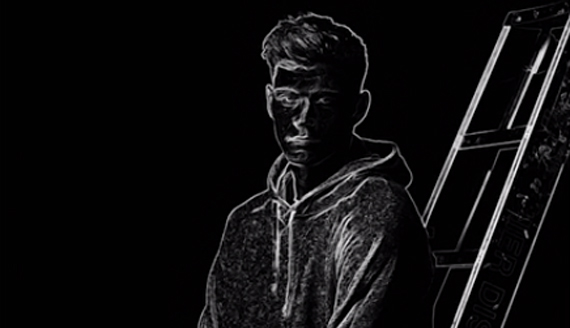
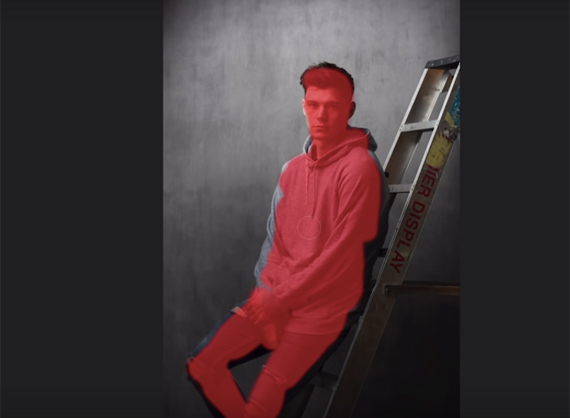
After dodging and burning the skin to bring out more contrast, Dewis then moves on to adding texture to his background. He does this by loading in a photo he already had prepped for gray backgrounds and then adding it to the image using the overlay blending mode. (To do get this effect in-camera you would have needed to purchase a very expensive textured drop or prayed that there was a textured wall nearby.) We get another neat little tip as he’s creating the mask to keep the texture from affecting his model: pressing down on the backslash key will create a sort of quick mask view that lets you see exactly where your mask lies:
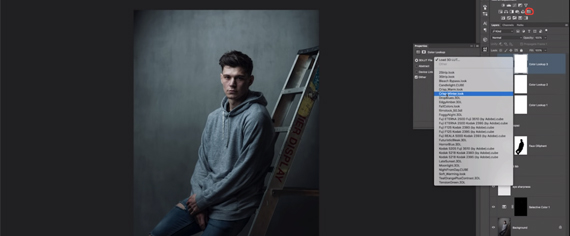
Another tool Dewis uses that might be new to you can be found in the adjustment panel in Photoshop CS6 and above: Color Look Up Tables (LUTs). LUTs allow you to remap one set of colors into another. LUTs have a number of different applications, but here Dewis is using them to create a cooler version of his photo:
If you’re like me, learning new techniques for editing and retouching can be quite exciting. In the end, though, it won’t magically transform you into a great photo retoucher. The real magic will start to flow once you develop your creative eye and begin to visualize what the finished image will look like at its best. The recipe for that? Practice, practice, practice.
Like This Article?
Don't Miss The Next One!
Join over 100,000 photographers of all experience levels who receive our free photography tips and articles to stay current:


Leave a Reply