Beauty photography is quite literally a fine art, since you have to take all the imperfections shown by your subject and eliminate them 100 percent. Once you have the lighting down to perfection, you have to fine-tune the photo even further. Jeff Rojas explains in the video below how you can eliminate oily skin from a photo:
There are three steps to removing shiny spots from a subject’s face with Adobe Photoshop:
- Create a layer on top of the image.
- Select the eyedropper tool and select mid-tone colors, just a bit darker than the highlights.
- Select the brush tool and select a large brush size. The opacity should be between 10 and 15 percent. Paint over the affected areas with the brush tool.
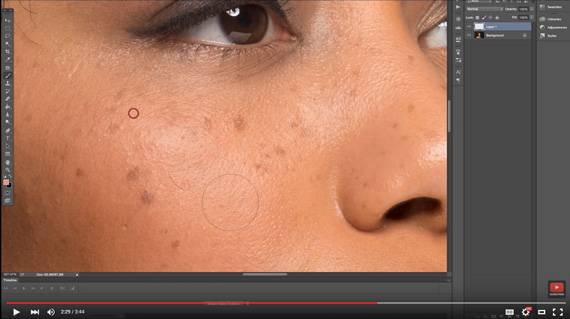
Fixing oily skin in Photoshop is as easy as 1-2-3 following the tutorial in the video above.
And that’s it! A lot of fine tuning will go into this to work perfectly, and if you see you’ve gone overboard just reduce the layer’s opacity.
How fast did you pick this up? It took me a couple of tries, but I was able to reproduce this effect on a photo in a matter of minutes.
Like This Article?
Don't Miss The Next One!
Join over 100,000 photographers of all experience levels who receive our free photography tips and articles to stay current:


Very simple fix that works great! Thanks for this.