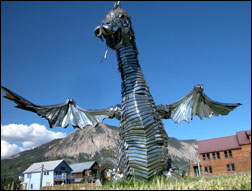
Before Changes

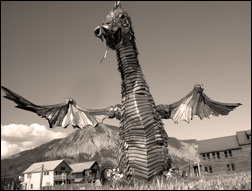
After Changes
This tutorial is to help you learn how to convert a regular color photo into a sepia toned photo. This can turn a dull photo into a more interesting artsy photo. Ok, once you have your photo open in photoshop:
1. Convert the photo to black and white using a new Channel Mixer Adjustment Layer. If you need more help with this step please refer to our tutorial on “Converting Photos to Black and White.”
(with the background layer selected)
2. Open a new Photo Filter Ajdustment Layer. (Image>Adjustments>Photo Filter)
3. Change the Filter to Sepia. Adjust the Density to your liking, for this example I used 60%. And make sure Preserve Luminosity is selected.
For Further Training on Retouching Photos:
Check out this in-depth eBook on how to do professional yet subtle photo adjustments that really bring out the best attributes of any photo. PictureCorrect readers can receive 15% off by entering the discount code picturecorrect. It can be found here: Understanding Post-Processing
Like This Article?
Don't Miss The Next One!
Join over 100,000 photographers of all experience levels who receive our free photography tips and articles to stay current:


I had the sepia and other options with my photos,but now I cant find the place where it has a photo shop,,my photos are scattered all over,but I managed to bring up the pics and the options above
Quick and easy… thank you
yes i just did.
Can you do this in CS5?