Ever wish you could get hi-res, super-crisp, print-worthy images on your point-and-shoot or not-so-professional DSLR? Check out this panorama technique from photographer Mark Wallace—it might be just what you’re looking for:
Wallace’s strategy (also known as the Brenizer technique) works wonderfully if you have no foreground in your photo. It provides incredible detail and is easy to do. All you really need is Photoshop, a hard drive with lots of available space, time, and a lot of patience.
Tips for Creating High Resolution Images
- Don’t use auto exposure. Meter the light in manual mode. (And use manual focus.)
- Make sure there’s a high degree of overlap between images.
- Use a long lens. Something like a 200mm or 300mm will work fine (i.e. the opposite of a wide angle).
- Shoot the same scene a number of times to make sure you get the right exposure—remember, you’ll be in manual.
- End each set of images with a marker. Wallace uses an underexposed image to complete each set. This will help differentiate between the sets in post processing
- The more rows you add, the more resolution your image will have.
Post-Processing Tips
- You’ll need at least 1-2 Terabytes of free disk space on your hard drive. It’s useful to have a “scratch disk” or other spare hard drive to work from.
- Photoshop handles large photos better than Lightroom.
- Make sure your computer has all of its resources available—shut off everything other than the programs doing the work: Photoshop and Lightroom.
- Do this process only when you can commit one to two hours of dedicated time for your computer to be occupied.
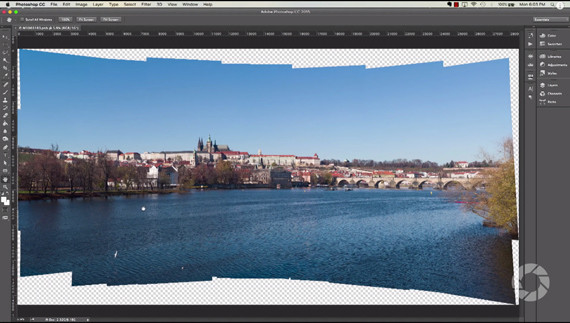
- Make sure you use Save As “Large Document Format” when Photoshop is done stitching your photo together. It may not be able to save the photo otherwise.
- Choose “delete cropped pixels” when cropping. This frees up that space.
- If you’re still working with a super large photo that is slowing down your computer’s processing, flatten your image before doing any other editing. This will make the file far more manageable size-wise.
Ready to give this it a test drive? Try it out and let us know how it goes!
Like This Article?
Don't Miss The Next One!
Join over 100,000 photographers of all experience levels who receive our free photography tips and articles to stay current:


Why not use stitching in Lightroom?