A lot of landscape photographers, using post-processing techniques, would be happy to just drag the exposure, whites and blacks slider to retain details as well as add a bit of contrast to their photos. But there are more things in heaven and earth! When it comes to post-processing there are more options than you think. In this short video Karl Taylor demonstrates a simple workflow to make the sky in your photos pop:
1. Create a New Empty Layer
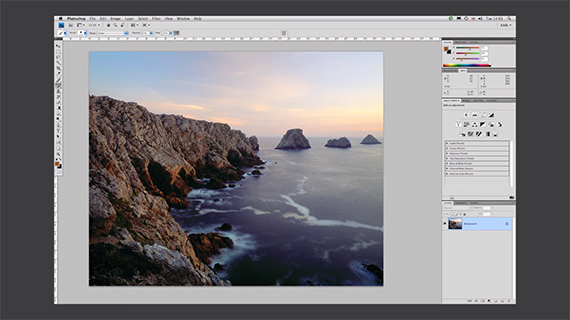
Open your image in Photoshop and click on the new empty layer button.
Original Image
2. Use the Color Picker Tool
Select the color picker tool to sample a color. Taylor samples a color from the rocks in the image.

Pick a warm color from the image.
3. Use the Gradient Tool
Select a gradient that goes from color to transparent. Drag the gradient from top to bottom (well, not quite to the bottom but about three quarters of the way down). Depending on the color you pick it is going to look a little like this:

The gradient changes the color tone of the sky.
4. Change the Layer Mode to Vivid Light

Change the layer option to Vivid Light.
Voila! Look how changing the layer mode has really made the image pop. Now there is an added bit of color in the image and the sky is looking really good.

Check out how the sky has been transformed!
5. Refinement
The only problem, as described by Taylor, is that the extra color depth is running over the cliffs. There is more than one way of toning this down.
The first way would be moving the layer containing the gradient upward using the move tool.
The second option is to erase the saturated orangey color from the rocks. You can do this by using a mask—just in case you would like to revert back—or you can use the straight eraser tool.

Final Image
Simple steps to add a bit of spice to your landscape photos.
For Further Training:
This course is designed to help users become a Photoshop or Photoshop Elements expert from the perspective of professional photographers. In the world of photoshop tutorials, it is difficult to find the key tools & functions that are critical for photographers, these lessons help you master them in any version of Photoshop.
Found here: Photoshop Basics for Photographers
Like This Article?
Don't Miss The Next One!
Join over 100,000 photographers of all experience levels who receive our free photography tips and articles to stay current:


Leave a Reply